Planning to move to a new home? Excited about starting over in a new city or neighbourhood? Most homeowners are eager to relocate to their new address. However, the one thing that can bring down your excitement levels is the thought of packing your home before the move. While moving heavy furniture and cabinets from the house is a tiresome task, even with hired help at hand, the room that frustrates even the most experienced packers is the kitchen. That’s why we’re bringing you the top tips to pack your kitchen for a move.
Firstly, remember this, if you are keen on packing everything nicely in uniformly sized boxes, the kitchen will show you no mercy with its different types and sizes of utensils. From crockery to silverware; from small appliances to cup and saucer sets; the kitchen can turn a dreamy move into a nightmare in no time.
So, how can you pack your kitchen most conveniently? Use the tips, tricks and the methods shared below to ensure that your kitchen is packed and ready to go when you decide to move out.
Assess What’s There
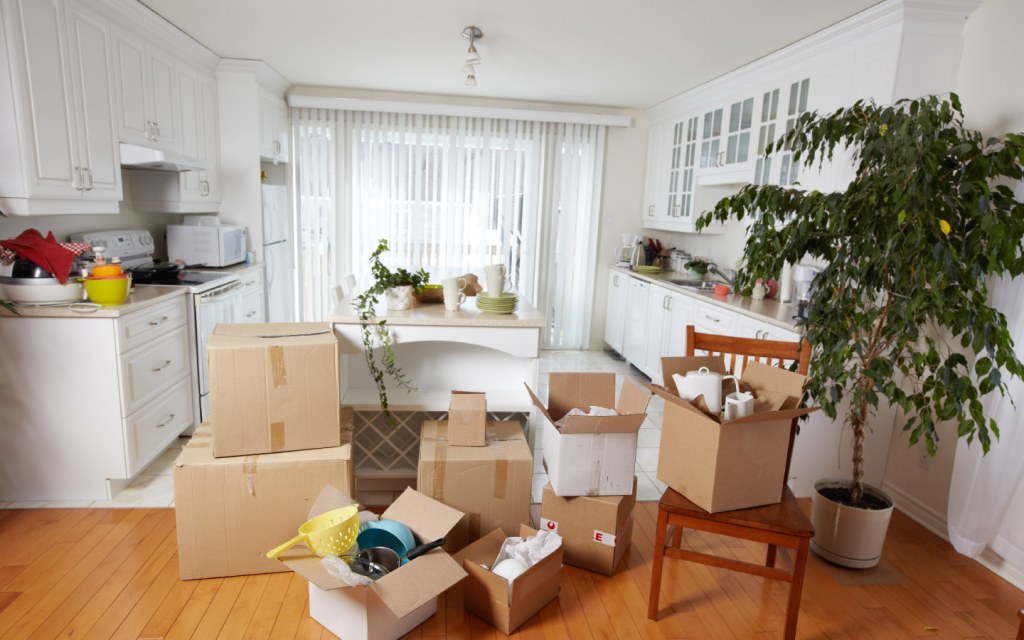
Although many homeowners believe that the kitchen should be the last room to be packed before a move, there is actually a possibility of moving nearly 80% of your kitchen before the actual moving day. This can ultimately help you on the day of the move, with fewer items left to sort through and carry in your car. It can also reduce the cost of hiring a moving van or truck specifically for the heavier kitchen appliances, as you will be able to ship them off to your new address with the rest of your furniture.
First things first, organise your belongings and evaluate what’s actually there. Since the kitchen is the heart of most homes, there are a lot of odds and ends that can collect here that you might not want to take along. Sort through your drawers and cabinets to determine what you need to get rid of and what’s worth keeping. Set aside everything that you must take with you and place the remaining items in a discard pile. The things in this pile can either be thrown away, donated to charity or passed on to relatives based on their condition and usefulness.
Separate the Essentials and Non-Essentials
Once your kitchen is left with the bare minimum that you must pack and move with you, sort through your belongings once more and designate two corners of your kitchen for them. One corner should contain the essentials, the stuff that you need in the kitchen until the last day, which is the day of the move. The other corner can be kept for non-essentials or the items that you can move to your new home a few days in advance.
The essentials’ section can contain basic crockery and cutlery for the exact number of family members, perishable food items, dishwashing liquid, hand washing liquid, and the appliances that you regularly use, like a toaster or an electric kettle. Don’t forget to put some glasses and teacups into your essentials’ pile as well.
Stock Up on Packing Supplies
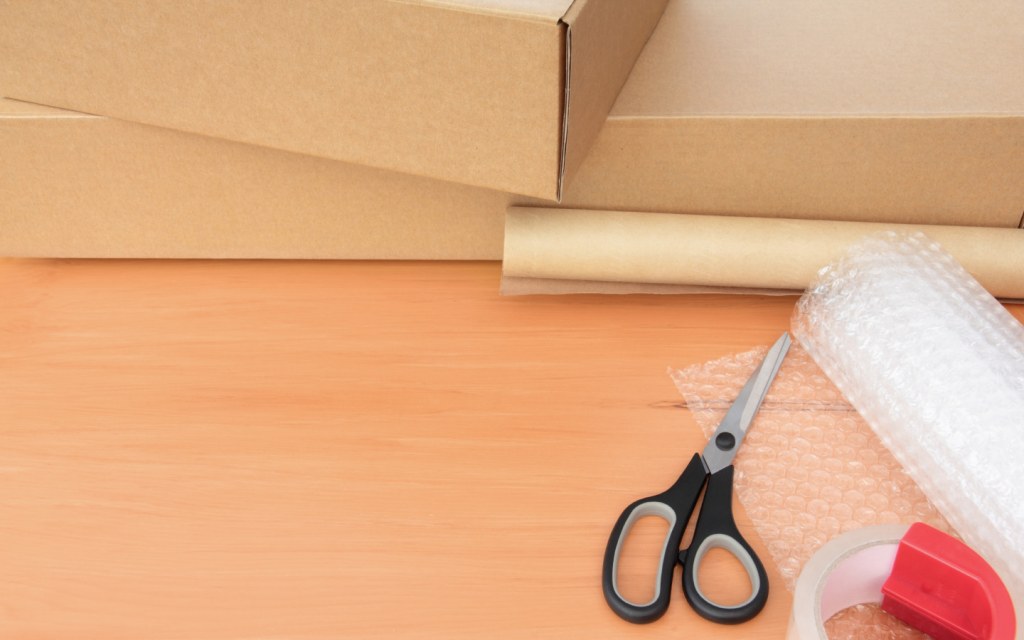
Now that the belongings in your kitchen have been sorted, you know exactly what to pack for your move. For this, you need the right packing supplies:
Boxes
If you have spare boxes of older appliances, crockery or children’s toys, use them after making sure they are sturdy enough to hold the weight. Remember to tape the bottom of the boxes if they seem flimsy to you. Alternately, if you do not have the boxes already, you can purchase them in different sizes. You might even be able to get discarded cardboard boxes from local shopkeepers at reduced costs.
Paper
Your dinnerware is delicate, and each item needs to be packed separately. For this, you can use old newspapers or even purchase brown packing paper. Paper is also the perfect stuffing for stray gaps in your packed boxes.
Bubble Wrap
If you have something expensive or fragile to move and fear they will break easily, wrap them up in layers of bubble wrap before you put them in a box of their own. Bubble wrap is another filler that prevents items from bumping into one another in the box.
Tape
While most of us already have Scotch tape and masking tape in our homes, the ideal tape for packing is brown packaging tape that is quite durable. Remember to tape up the top of all of your boxes to seal them close.
Scissors
When you are working with tape, the next thing you’ll need is scissors. Make sure that they are sharp and kept away from your children while you are busy packing.
Permanent Markers
Labelling boxes is a necessary step to every move. However, you don’t need just to label the boxes with the name of the room. Even for the kitchen, many separate labels should be placed on the boxes,, such as pots and pans, dinner sets, glasses, and so on.
Large Plastic Bags
While all your fragile items will require boxes for transport, boxed food items, plastic storage containers, and other durable belongings can be filled in large plastic bags to be taken to the new home.
Packing It Up
Now that you have the supplies at hand, let’s pack up your kitchen for a move:
Food
Let’s begin with something present in every kitchen, food. When we talk about food though, there is a range of perishable and non-perishable food to be considered. As mentioned above, try to consume your perishable food items during your last days at the old place. Coming to the remaining food items:
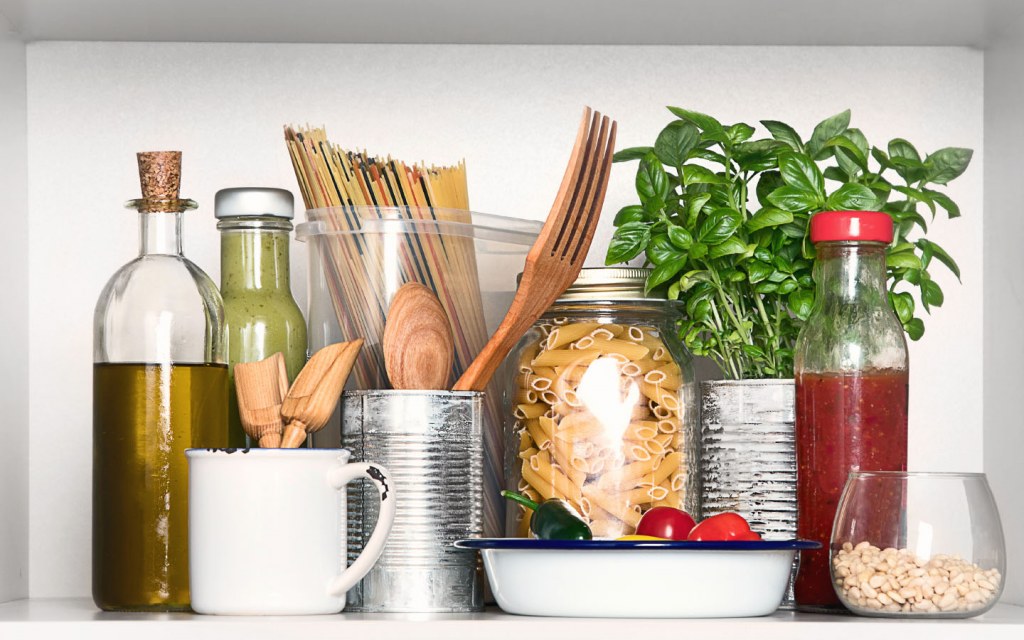
- Check the expiry date on all cans, boxes, and packs. Discard everything that is expired.
- Place all the cans and spice jars in heavy duty boxes. Remember to check the weight of the box. You do not want to make it too heavy to carry out to the truck.
- Seal all your jars and bottles containing liquids by placing a piece of plastic between the lid and the container before sealing them shut using tape. Keep these bottles and jars in a separate box, using paper to fill in the gaps to prevent them from bumping into each other.
- Fill up a plastic bag with unused packaged food and spice boxes. Do not place them in a box with heavier items, as the boxes will then be at risk of damage and leakage.
- Avoid transporting food items that have opened packaging as they might go bad before you move into the new home.
Cutlery
No home can have enough silverware. Here’s how to pack it up though:
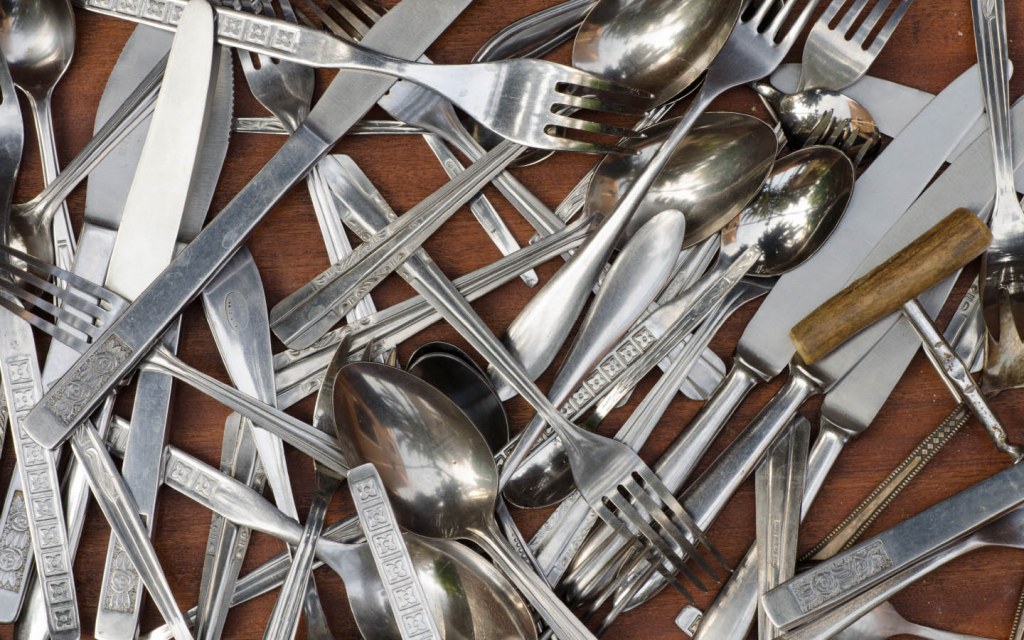
- Try to find a long plastic box or pouch that can be used to transport the spoons and forks safely. If that isn’t a possibility, throw the spoons and forks into a plastic bag and place the bag in any of your boxes.
- For knives, wrap each one individually into a dish towel, securing it with a rubber band. Place these in a small cardboard box along with other kitchen utensils.
- Never store or pack knives standing up. Always lay them flat on their sides.
Crockery
Dishes are essential to every kitchen, and they need extra care when you’re packing up a kitchen:
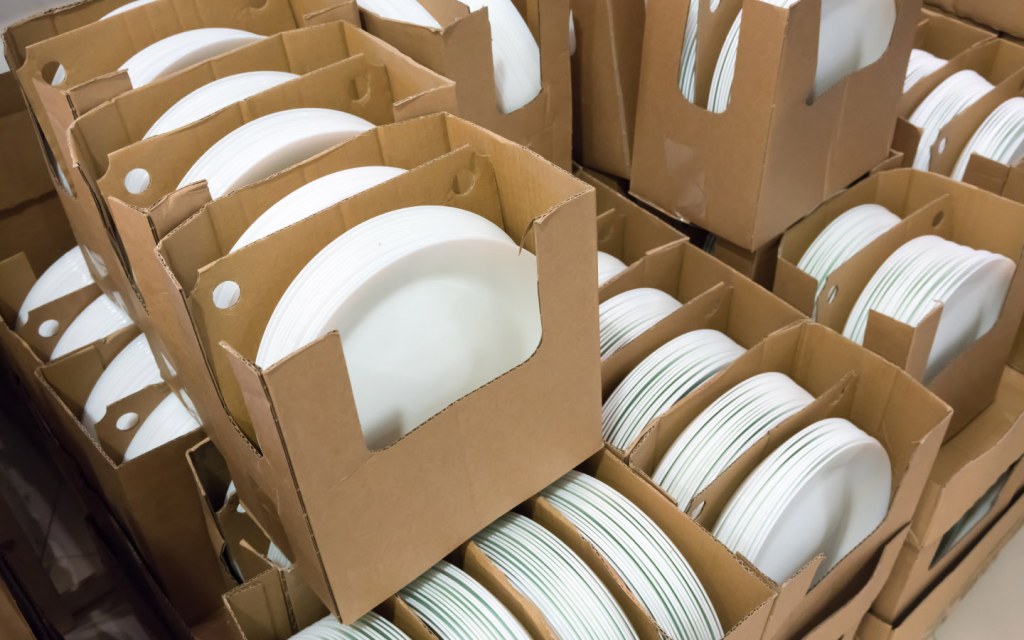
- Wrap each plate individually before placing it in a box. Place a layer of newspapers on the bottom of the box before you begin though.
- The best way to pack dinnerware is to place it vertically in a carton. You can do this for large and small plates as well as bowls and trays.
- Try not to make the box too heavy as lifting it will then be a hassle.
- Be sure to fill all the gaps in the box with bubble wrap or newspapers.
- If a piece of china is exceptionally fragile, you can wrap it up in a dishcloth or an old T-shirt before packing.
- Avoid placing dishes horizontally in the boxes as they become more susceptible to damage that way.
- For serving bowls with lids, wrap them in paper and place their lids upside down on top, before wrapping it all in the paper once more and putting it in a box.
- Do not place heavier trays or plates on lightweight bowls. Heavier items must always make a base for the lighter load.
Glasses and Cups
Every home has a number of glasses and cups. If the sets are new and still in their packaging, you can quickly move them without the hassle of packing. However, for those glasses and cups that you use regularly but will not be needed until after the move:
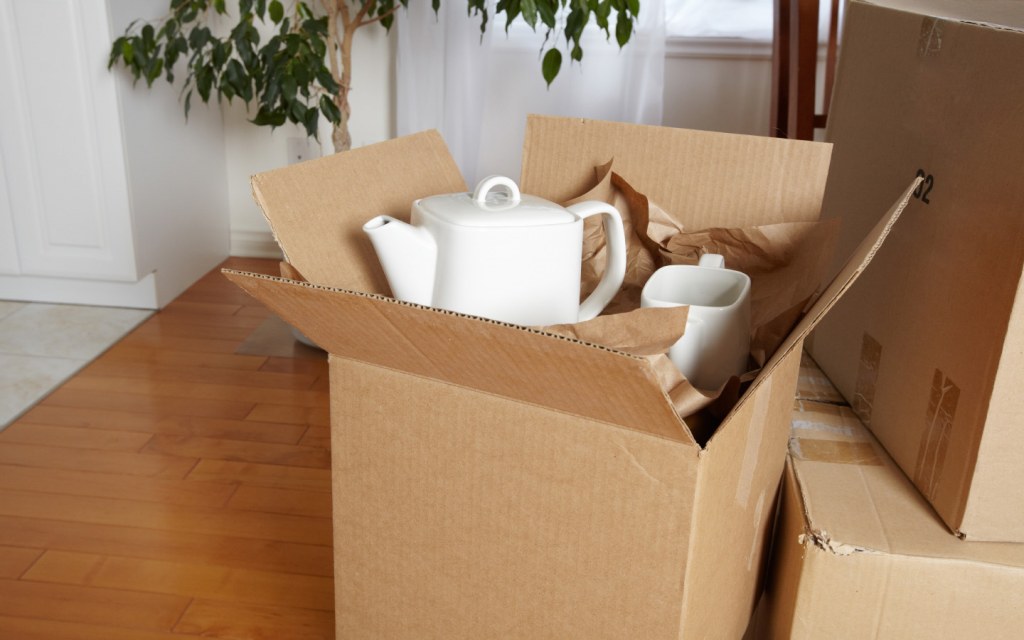
- Wrap the cups individually in packing paper or old newspapers before placing them upside down in a box. You can then add a layer of paper on top before putting the second layer of cups. Remember to wrap the handles on your cups and mugs too.
- For glasses, wrap each one and stack them up inside a carton. Fill the insides of your glasses with paper as well.
- While you can place simple glasses upside down in a box, stemmed glasses should be put right side up to avoid damage to the stems.
- Try to create cardboard dividers in the box for your glasses so that they do not bump into each other and crack. If that is not a possibility, use the packing paper to fill the gaps between them.
- Do not add additional weight to the box as glass is already fragile. When you place the box into the moving truck, tell the hired help to place this box on its own.
Cooking Utensils
Every kitchen has a variety of pots and pans available for use. They’re generally quite durable though, so packing them is easier:
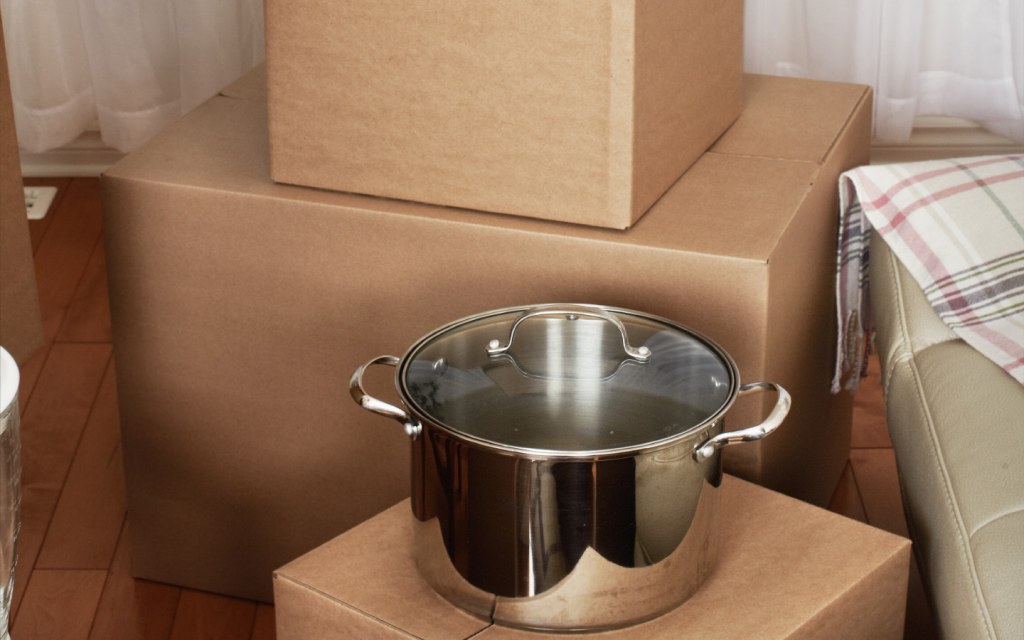
- Create a pile of the pots, placing the largest one at the bottom, with the following smaller sizes fitting into it.
- Place your pile of pots into a large box, and they are ready to move. You can move the pile on its own too.
- You can wrap the entire pile in paper or cloth to avoid scratches before placing them in the box.
- For pans, place them vertically into boxes, using packing paper between them.
- For glass lids, wrap each lid in bubble wrap and pack them vertically with your pans.
Small Appliances
Kitchen appliances like food processors, coffee makers, or blenders are essential for every kitchen. Since they are small in size, they can also be conveniently transported in their original packaging. If you don’t have that:
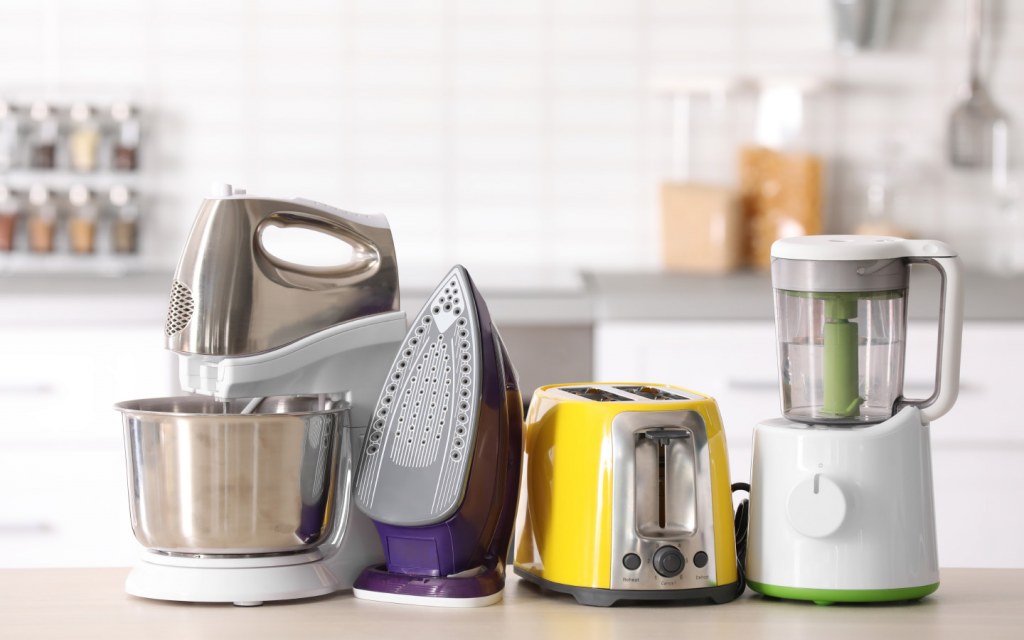
- Wrap each appliance in bubble wrap, place it in a box and surround it with packing paper. Disassemble appliances that come with detachable parts and pack all the pieces together.
- Make sure that the cords of each appliance are packed along with them. You don’t want to be hunting for them at a later date.
- Every appliance must be clean and dry before packing.
Large Appliances
For larger appliances, you will need someone to help you carry them. Aside from that:
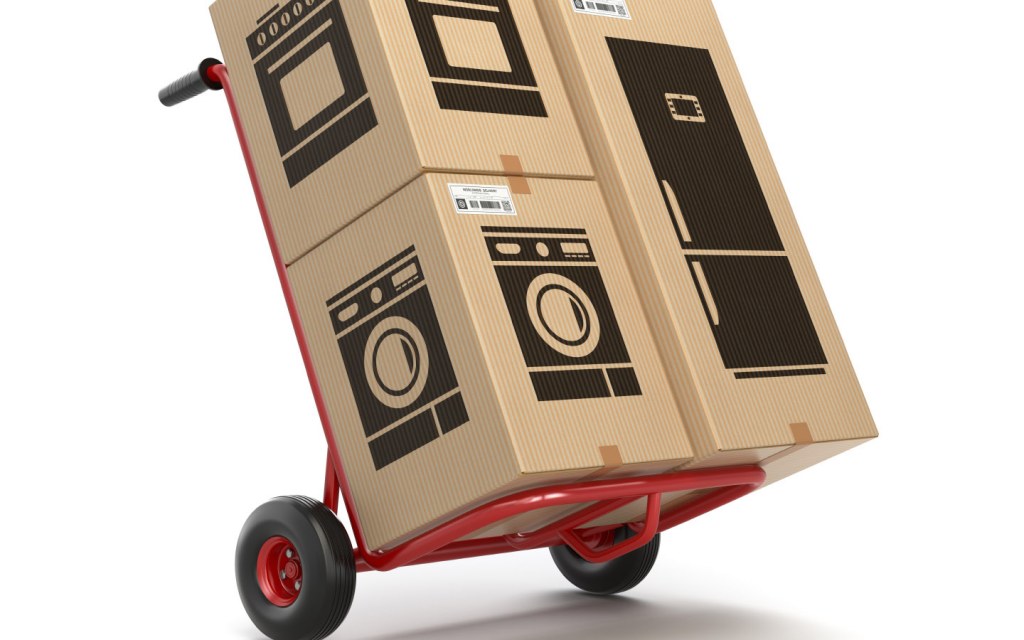
- Detach all cables and cords from your refrigerator, deep freezer and other large equipment.
- Make sure that the appliances are empty and clean before the move. Defrost the appliances if there is a need to do so.
- Move your large appliances in advance only if you are sure about not needing them till the moving day.
Cleaning Chemicals
Most of us have a cupboard under the kitchen sink that is the designated spot for all types of cleaning materials and chemicals. Here’s how to pack them up:
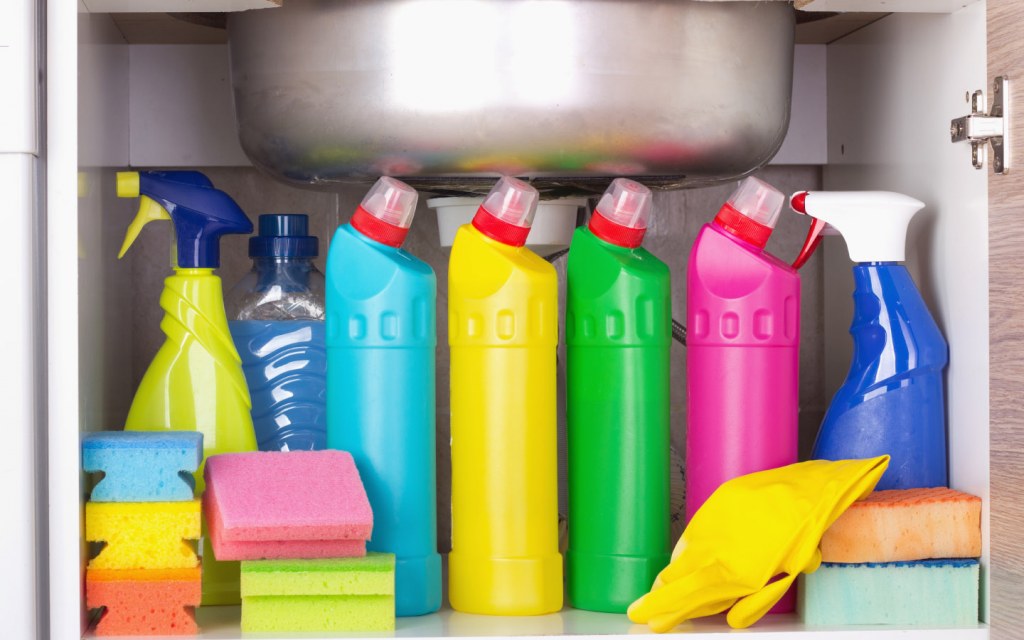
- Pack all the bottles using the sealing technique mentioned above for bottles containing liquids, keeping a piece of plastic between the lid and the container. Keep the bottles in a separate box.
- Never pack chemicals in a box with edible food items or other equipment used to prepare food.
- Store all chemicals and detergents upright.
Remember, the trick to packing your kitchen for a move is to get started with the job without letting it overwhelm you. Yes, we know it’s a tedious task, and it’s a lot to take in, but once you get started, things will begin to fall in place automatically. So, roll up your sleeves and get packing!


