Home » Construction » How to Fix Squeaky Doors and Creaking Floors?
Seasonal changes often make wooden floors creak and your home is bound to annoy you with squeaky doors hinges after some use. However, knowing the cause of the noise does not make it any more bearable, does it? We know random squeaks and creaks are irritating, to say the least, so, we have compiled some smart ways for you to quickly fix squeaky doors and creaking floors in your home.
From DIY techniques to those better left to the pros, we are sharing them all, so you know just what to do to get rid of those pesky squeaks and creaks. Let’s get started with the methods to fix squeaky doors and creaking floors.
Removing the Squeak from Your Door
The lubrication between door hinges reduces over time, resulting in squeaks that are best suited for horror movies. If you want to your doors to open as quietly as they used to, try one of the following methods to reduce friction between the moving parts of hinges.
Lubricate It
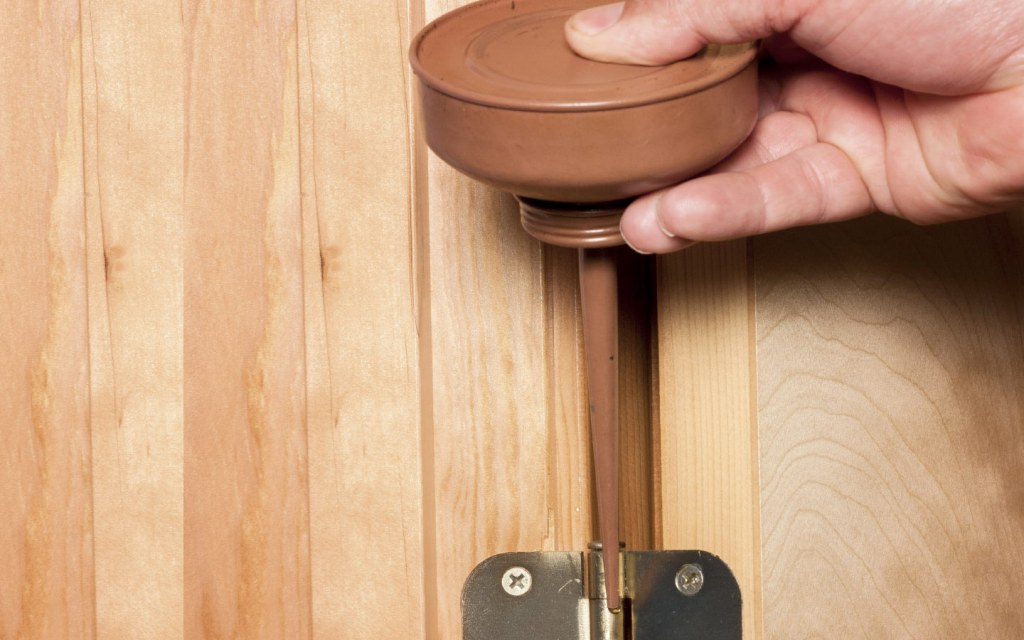
There are a number of common household products that you can use for this purpose. Oil, butter, paraffin wax candles, petroleum jelly, and ordinary dishwashing soap are a few examples.
If you are choosing to use oil, put a few drops of oil into the noisy hinge and this should stop the squeaks. This is only a temporary solution though and might need to be reapplied. Vegetable oil is one option you can consider, but lubricating oil is also available in the market for this very purpose. Olive oil is also a good substitute if you want to avoid a visit to the store.
Buttering the hinge is also one option but is rarely recommended as it might attract insects. Also, petroleum jelly works pretty much the same way as oil, when used in moderation. Dishwashing liquid can also be used for this purpose.
Coat It with Paraffin Wax

Dipping the hinge pins in melted paraffin wax is another alternative. However, it is best to use a microwave or on an electric stove to melt paraffin candles since gas stoves are a fire hazard due to the fumes released by melted wax. Also, ensure that the wax or candle that you have purchased is pure paraffin.
Once the wax is melted, dip the hinge pins into it. Make sure they are coated evenly before taking them out. Let the wax cool before you place the pins back into the hinge. Test the door by opening and closing it a few times. Redo the process if the squeak is still there. While you may require several coats of wax, the residue from wax is thinner than oil, and you will not need to wipe off the excess once the squeak is fixed.
Hinge pins are the parts holding the hinge together and to apply this method, you first need to learn how to take a hinge apart. We’ll share that below.
Taking the Hinge Apart
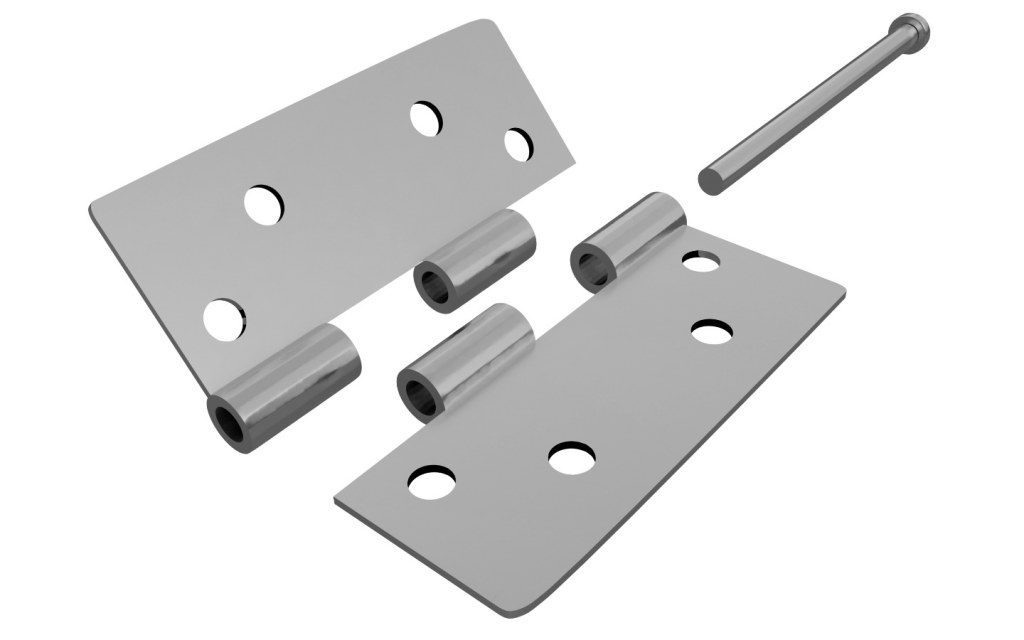
While you might want to leave this to the pros, it is doable for most homeowners who are good with a hammer. Hinges are generally held together by hinge pins, and if you tap these pins with a hammer, they will slide out far enough for you to grab them.
Squeaky doors are often a byproduct of bent hinge pins, and once you take them out, you’ll be able to check if that’s the case. Make sure to rest your door against a stable wall or support once the pin is removed as the door will no longer be connected to its frame.
If the pin is bent, tap it lightly with a hammer to straighten it. Once done, use a lubricant of your choice to coat the pin before placing it back into the hinge. Hammer the pin lightly to make sure it fits properly. Then close the door and check whether the problem has been fixed. You can wipe the hinge with a spare rag if it is excessively oily or greasy.
If straightening the pin does not work, you can also buy a replacement pin from any hardware store. Make sure to take the original pin with you as a sample when you go to buy a replacement, so you don’t end up with the wrong size. Alternatively, you can hire a pro to fix this issue for you.
Cleaning the Hinge
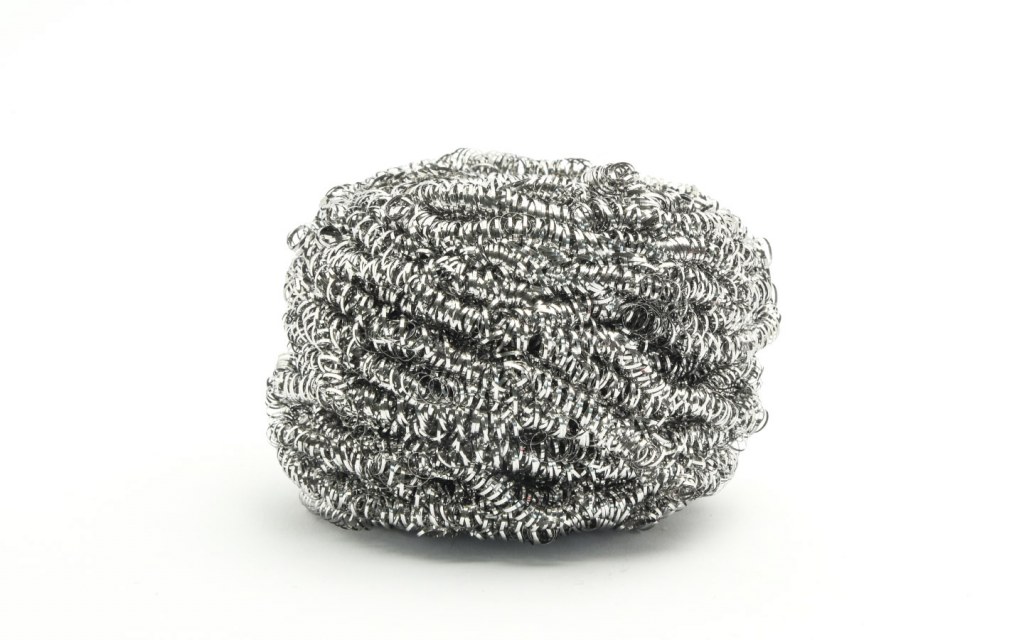
Rusty or dusty hinges can also result in squeaky doors. One way to clean the hinge is to follow the above-mentioned method to take out the hinge pins and rub them with steel wool to remove the rust and dust accumulated on them. Remember to coat the pin with a lubricant before you fit it back since it can smoothen the functioning of the hinge even further.
Fixing the Creaking of Your Floorboards
If you’re on a mission to fix squeaky doors and creaking floors around the house, you’ve already completed the easier half of the challenge. Repairing creaking floorboards is, unfortunately, not as easy as oiling a hinge. We’ll share some of the easier hacks to fix it though, and you should try them out before calling the pros.
Prevent Friction
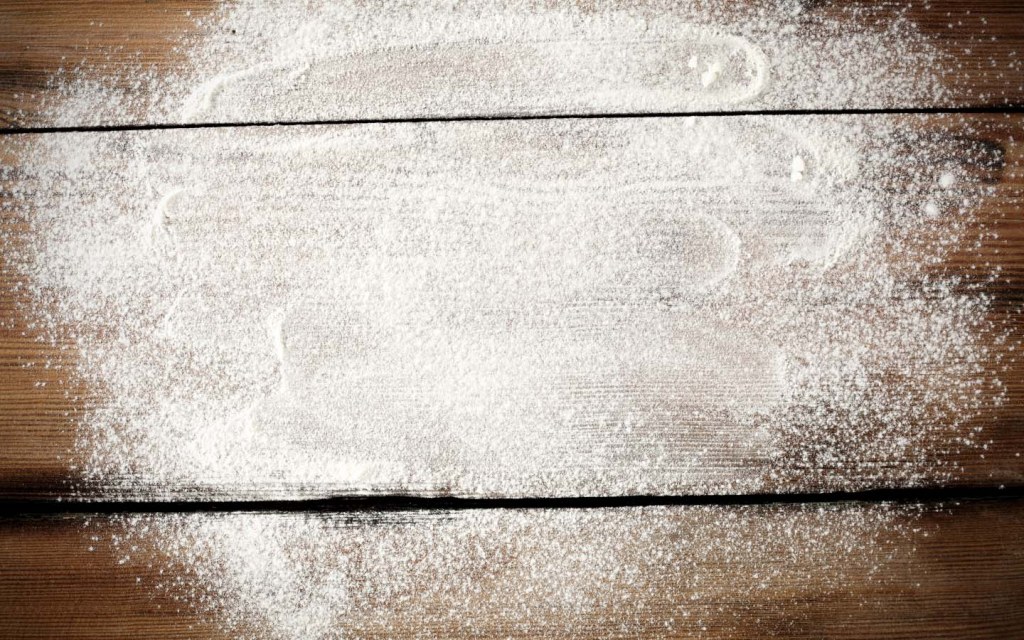
Creaking floorboards are common in houses with wooden flooring. Regardless of whether you’ve carpeted your floorboards or left them as is, the creaks will announce their arrival and bother you over time. Creaking is most often caused by friction between the boards, and the best way to fix it is to reduce friction.
From talcum powder to corn flour, there are a number of items you can use to do so. Simply sprinkle a powdery substance onto the floorboards and sweep it into the cracks. If your floor is carpeted, you will have to remove the carpet for this one. Also, you will have to redo the process after you mop the floor. If the cracks between your floorboards are very fine, you can use a thin plastic or cardboard card to make sure the powder seeps into the gaps.
Fix the Gaps from Below
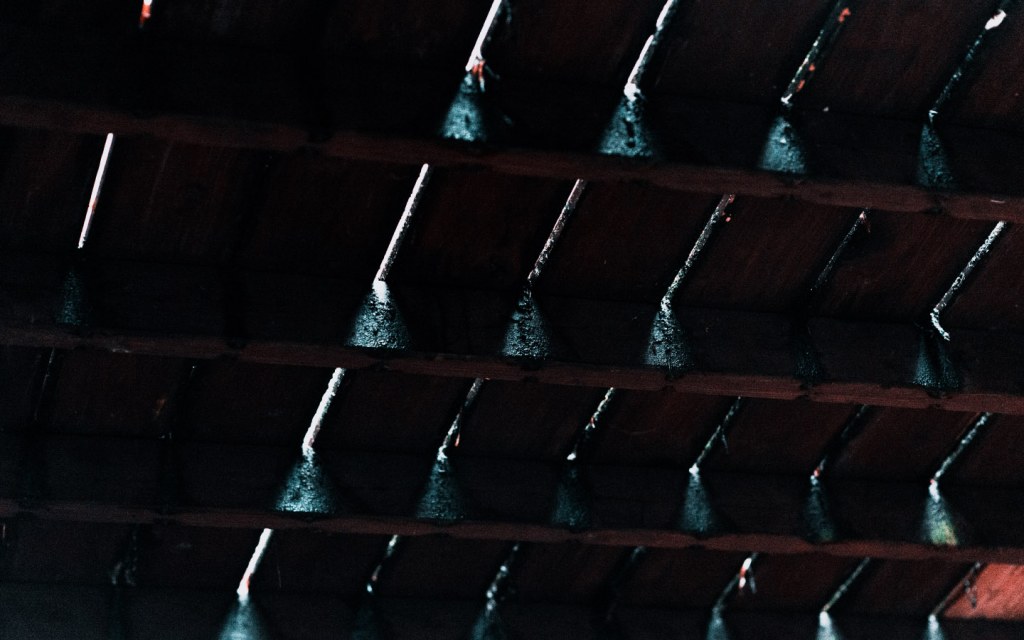
While most homes in Pakistan use wooden laminate to cover a concrete floor, many houses built in the northern parts of the country have hardwood flooring, which is the ideal choice for colder regions. If your home also has hardwood flooring, the seasonal changes will make the floors creak. A more alarming concern is when the floorboards start sagging and result in creaks. This problem needs a more long term and permanent fix.
The sagging of boards is usually caused when a distance develops between the beams that support the floor and the floorboards. Want to fix it up? Check if there is a way to get underneath your wooden flooring, via a basement entrance or a crawl space.
If you can access the underside of the floor, determine where the gap lies and fit a slim piece of wood into the gap. Remember to use good-quality glue to hold it in place. Do not use force or a hammer for the job, as that can change the level of the floorboards above. You can use this process for as many small gaps as you find. Long gaps can be filled with a strong adhesive and a glue gun. You might want to call in the pros for this one if you want the best results.
If a particular portion of the boards is sinking, place a wooden plank across the underside of the floor and use short but strong nails to hammer the plank in place. This will remove the sagging and prevent creaking sounds by giving additional support to the floorboards. The critical thing to note here is to keep the nails short. Otherwise, they will poke out of the floor on the upper side and can lead to foot injuries.
Stop the Creaking from Above
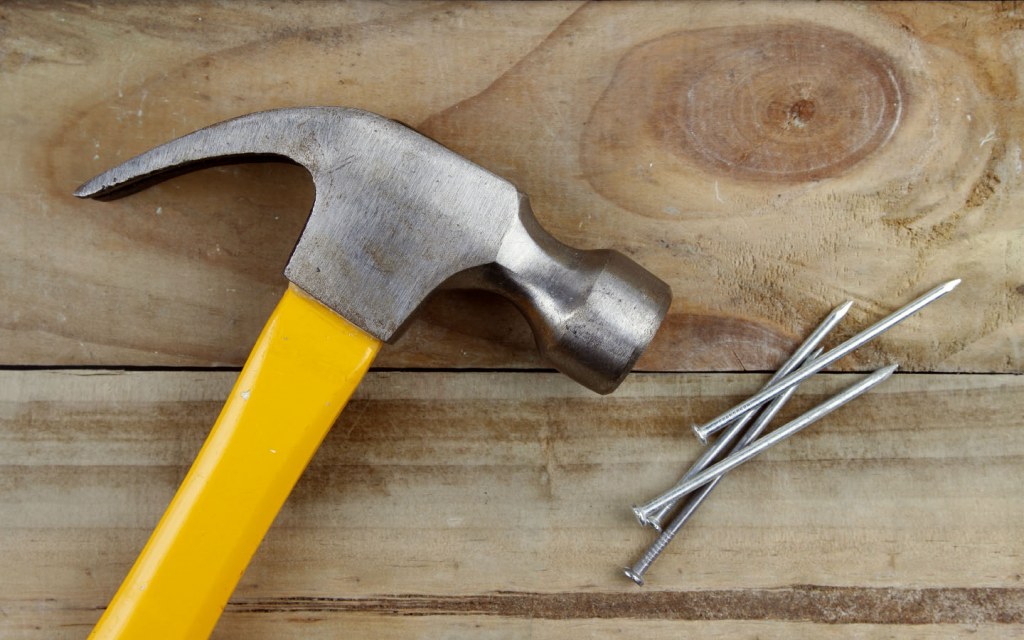
This method requires a bunch of long nails and a hammer. Once you determine which boards are creaking and where the support beams are, it’s time to get to work. Nail down any boards that are sagging or creaking, but make sure they have a support beam underneath first.
Long nails can be driven through the floor and straight into the beam to close up the gap between the wooden surfaces and stabilise your floor. Unfortunately, if there is no beam underneath a particular board, you will have to rely on fixing it from below with a plank to support the wooden floorboards.
Now that you know how to fix squeaky doors and creaking floors around the house, it’s time to get to work. While you are on the roll, why not check out your roof for structural damage? There are some telltale signs that can indicate the need for a roof repair and prevent a costly roof replacement.


