Home » Home Decor » Revamp Your Walls with Spray Paints
Every homeowner wants their home to look the best, and there are several ways to refresh the style of your abode. However, one of the most effective ways to completely change the appearance of your interior is to play around with wall paint. While painting the walls with rollers and brushes is an option, spray painting them gives you the freedom to create designs and cover larger areas quicker, which might not be possible with other painting alternatives.
Before you spray paint your walls using a spray gun, here are some things that you should keep in mind:
Step 1: Prepare the Walls
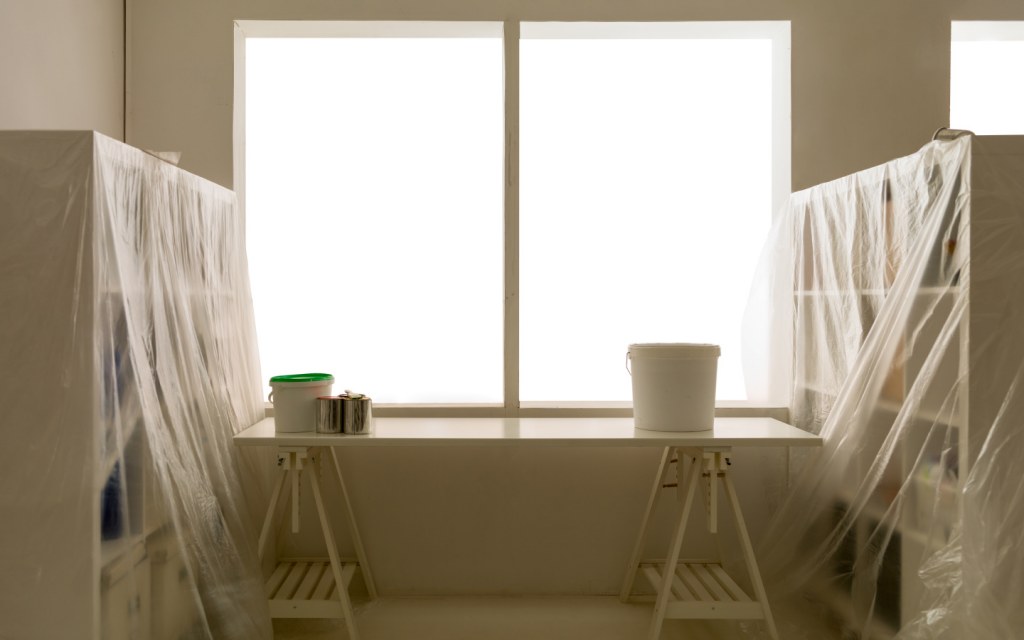
Spray paint will not stick to dirty or uneven walls, as it is thinner in consistency to regular latex paint used in homes. This is why you need to clean the walls of the room that you want to paint. You can do so with soap and water. Next comes the process of filling up any uneven spots or cracks that might have developed on the walls of your home. The walls need to be completely smooth, or the paint job will further enhance the uneven surface, killing the purpose of painting them altogether. Once all this is done, use tape to cover the edges of the doors, windows, and built-in shelves or cabinets.
Step 2: Clear the Surroundings

While built-in or fixed furnishings cannot be removed, you can always remove any other furniture from the room before you spray paint your walls. Move out all the pieces that you can, and cover the rest with a cloth after moving them away from the walls. As spray paint covers a larger area, paint splatters can ruin your furniture if it is not appropriately covered. Ideally, you should also cover the floor with a cloth or a plastic sheet to ensure that the paint job does not leave stains behind. You should also cover up electrical switches with tape to safeguard them from being painted over.
Step 3: Take the Necessary Safety Measures
Paint spraying guns leave lots of residual paint droplets in the air, and if you do not want to ruin your clothes or inhale the paint, it is best to opt for some safety measures. Ideally, wear a long-sleeved shirt and pants, with a mask that covers your nose and mouth. You can opt for gloves and socks if you want to keep your hands and feet paint-free. You should also wear goggles to avoid getting paint in your eyes and a hood or a hat to protect your hair. Additionally, the area being painted should be well-ventilated to prevent breathing problems.
Step 4: Thin Down the Paint
For the paint to be sprayed easily, it needs to be thinned down in consistency. Water-based paints like acrylic and latex will require water, and oil-based or solvent-based paints will require turpentine for this purpose. Once you have shortlisted a paint colour, thin it down to 10 to 15% of its original consistency. If you are using a previously opened can of paint, strain the paint before use. This will help you eliminate any lumps that might have clogged up the paint sprayer. After thinning and mixing the paint, fill the sprayer as per the instructions that come with a spray gun.
Step 5: Test the Consistency

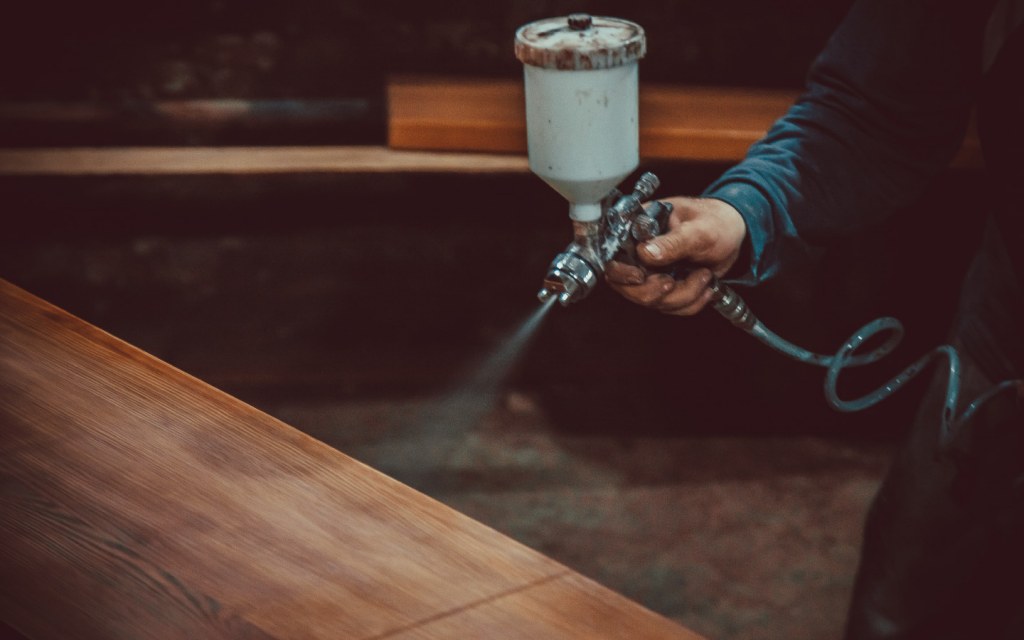
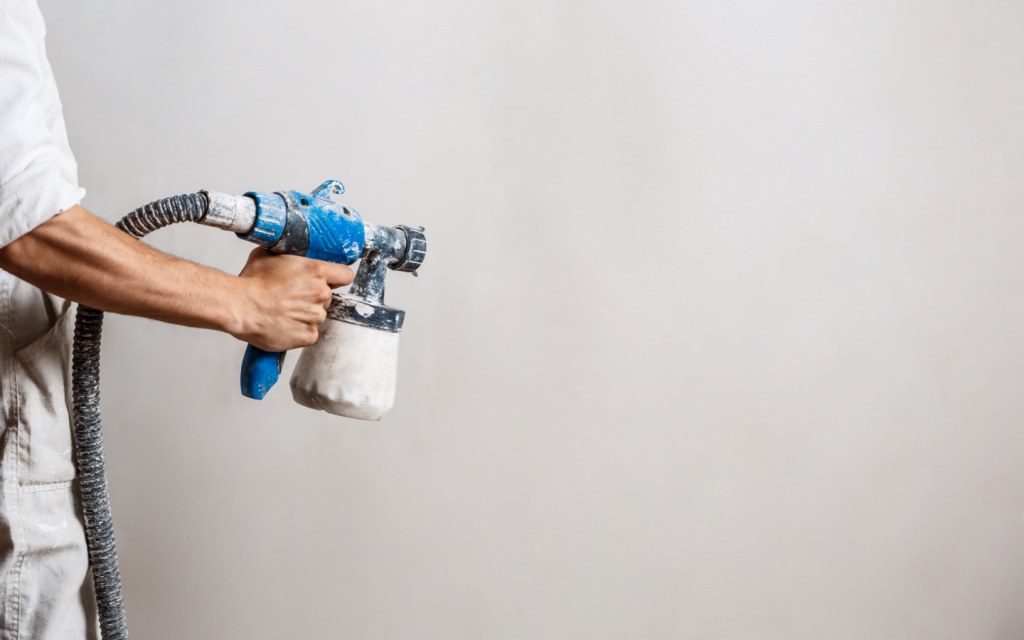
While you might have followed the instructions perfectly, it is always better to test out the paint’s consistency on a spare piece of wood or cardboard before spraying the walls. If the spray gun is clogging up, you might need to thin the paint a little more. Test the spray gun not just for the paint’s consistency, but also for its ease of use. Trial and error will teach you how to get a smooth and even finish of paint, how much pressure you need to apply, and which nozzle to use for the effect you are looking for. Most paint sprayers offer three paint patterns: round, vertical fan, and horizontal fan.
To test the paint gun, hold it about 1 foot away from the surface and keep your sprayer at a 90-degree angle from the floor. Note that if the sprayer is too close to the wall, the paint will start to drip and run. Similarly, painting at an odd angle will accumulate paint in one area only. Also, continue to move at a steady pace without releasing the trigger as you spray, so each surface area is coated with an adequate and equal amount of paint. Make sure there are no rough starts every time you press the trigger.
Step 6: Paint It Up

Now that the paint is ready, the question is, what comes first, the walls or the ceilings? If you are painting an entire room, then the ceilings should always be painted first. For this, make sure that your walls are protected from the excess spray leaving the paint gun. Also, use a reliable and sturdy stepladder for the job to avoid unnecessary injuries. For the walls, always remember to start from the topmost corner and work your way down.
When you spray paint your walls, use slow up and down motions or side to side movements to cover up the area. You will generally need to apply more than one coat for a perfect finish. It is best to work in sections, painting only the area that you can easily reach. Mark out the current section’s boundary by painting on its outer edges first and then painting inside. The same goes for window and door outlines. Spray their edges first and then paint the wall next to them. Overlapping your strokes can ensure better coverage overall.
Step 7: Clean the Mess
Since you taped off all the areas that did not need to be painted, you will need to wait for the paint to dry off completely before peeling off the tape. Once you do so, you will get clear and crisp lines along with a beautifully painted room. Next, remove all the coverings that you placed on your furniture and remove the cloth or sheet covering the floor. Then, you can bring back the furniture that you moved out of the room.
Once the room is back to its original state, you need to move on to cleaning the paint sprayer. After emptying the paint container, fill it up with the thinner that you used, be it water or turpentine. Flush the substance through your spray gun using the trigger. Keep repeating until the spray runs clear. You can clean the tip of the gun using the same liquid content. If the paint has dried or stuck, remove it manually using a cloth dipped in the liquid thinner. The paint gun can then be wiped and stored for future use. If it’s a rental, be sure to return it to your local hardware store on time.
Unique Looks to Create When You Spray Paint Your Walls
Since you now know how to use a spray gun, let’s move on to deciding whether you want to paint the entire wall or ceiling of your room. Here are some cool spray paint ideas for a unique twist to your interior.
Stencil Art

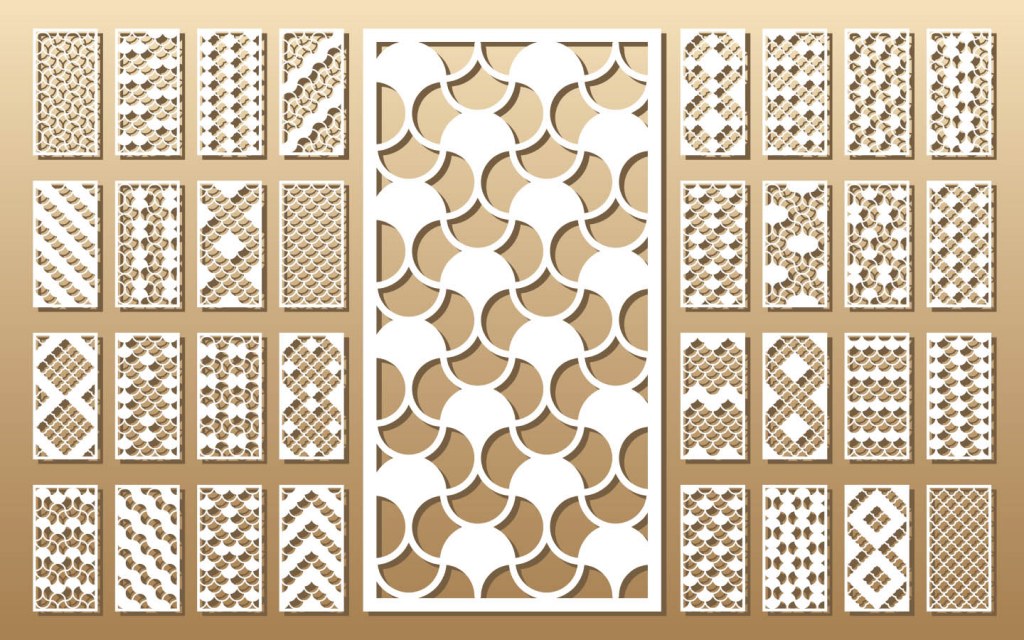
Want to bring colour and variety into your kids’ bedroom? Try stencil art. Stencils are available easily in a wide range of shapes and patterns. From geometrical to floral designs, the choice is pretty endless. You can just choose the stencil that you like, tape it to the wall and cover its surrounding area. Then set up your paint gun and there you have it, custom designed wall art in a variety of colours.
You can do one stencil at a time if you want each one to be of a different colour or you can tape multiple stencils on the wall and colour them all at once. Can’t find a specific stencil? It is pretty effortless to create your own by printing out a basic image and cutting out its shape on the paper. With this technique, you can paint animals, birds, flowers or even a landscape on your child’s wall. It all depends on your creativity and approach to the project.
Just Around the Corner
We’ve all seen houses having monotonous walls and ceilings or single coloured walls. Using a spray paint gun though allows you the freedom to create styles that traditional rollers and brushes cannot copy. Just tape off any area that doesn’t need to be painted, let the paint dry and peel the tape off. This can also be done with the corners of your walls, where they meet the edges. Cover all the corners in a rounded or straight line and then paint the wall. When the tape comes off, you’ll get a wall that’s set apart from the rest.
Two-Toned Wall

Don’t want to paint the whole wall? Mark off a section with tape and paint it up. This can be ideal for homeowners that have kids and light coloured walls, which do not mix well. If you want to darken the paint on only a part of the wall, up to 4 feet or so, this technique can be quite useful. Just spray paint the lower portion of your wall, using tape to cover up the rest. You can get a checked wall too with this technique. The colour preferences are, of course, entirely up to you. You can even spray paint old furniture to give it a new life and revamp your interior décor completely.
Have our easy spray paint designs given you the head start you need for your painting project? Well then, make a note of the steps given above and grab a paint gun. Good Luck!


