Home » Home Decor » DIY Projects to Keep You Busy When You’re Stuck at Home
IN THIS POST
– Removing scratches on your floor
– Fixing your creaking floorboards
– Making your floor tiles look brand new
– Removing stains from carpets
– Repairing old furniture
– Starting a small garden
– Deep cleaning your bathroom
– Decluttering different areas of your house
– Organizing your kitchen cabinets
– Sprucing up your front door
For those practising social distancing, being holed up at home all the time can get extremely boring. However, there are a few upsides to it as well. For starters, you’ve got more time to kill, which means instead of lounging around all day and doing meaningless chores, you can be a little more productive and utilize this free time to give your home a fresh upgrade. To help you out, we’ve put together a list of home improvement ideas to keep you busy during the lockdown. They will not only keep you occupied while you’re stuck inside but also add value to your property.
Let’s take a look at some budget-friendly things to do at home during the lockdown that will help you pass the time while making your home look cleaner and fancier.
Easy Home Improvement Ideas to Keep You Busy
Here are some inexpensive home upgrades that you can easily accomplish within a few hours without having to hire an expert or buy expensive products. In fact, you’ll easily find the tools and materials required for most of these home improvement ideas either in your pantry or storeroom.
- Removing scratches on your floor
- Fixing your creaking floorboards
- Making your floor tiles look brand new
- Removing stains from your carpets
- Repairing old furniture
- Starting a small garden
- Deep cleaning your bathroom
- Decluttering and organising your home
- Organizing your kitchen cabinets
- Sprucing up your front door
Let’s take a detailed look at these DIY projects for self-isolating at home.
Removing scratches on your floor
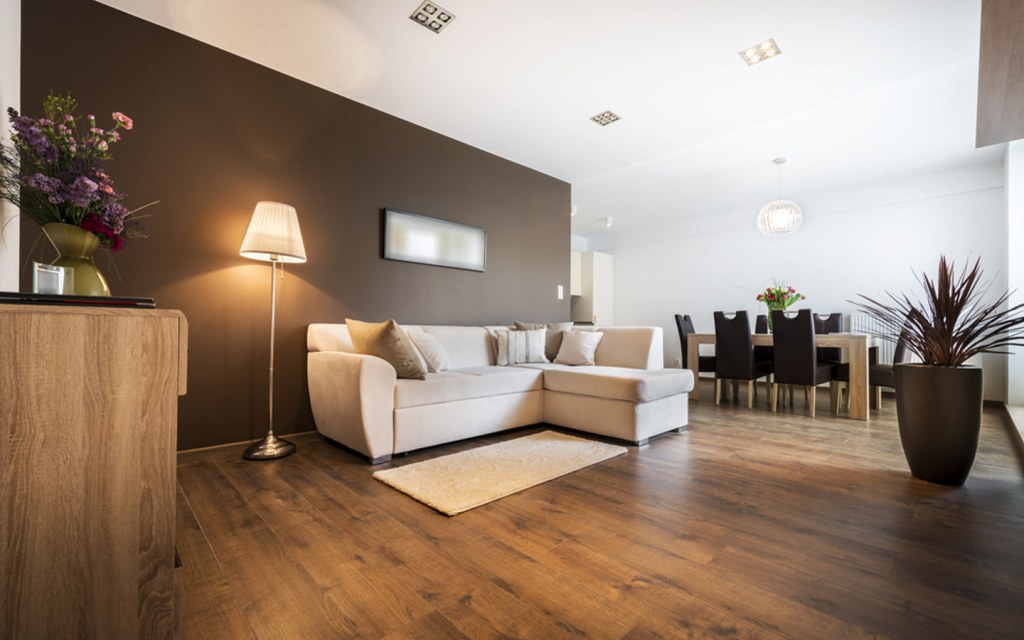
Scratched and dingy-looking floors can bring the value of your entire home décor. While repairing deep scratches and gouges may require expert opinion and professional help, you can easily fix minor scratches and surface flaws all by yourself using some household items.
In fact, it won’t be wrong to call it one of the simplest DIY home improvement projects for beginners.
Here is how you can get rid of scratches on different types of floors in your home.
Wooden floors: Clean and flawless wooden floors can make your home look elegant and expensive. To get rid of scuff marks and scratches on the surface, you first need to clean the area with a lint-free cloth. Next, use steel wool to buff out the edges by rubbing it on the surface in the direction of the grain until the scratch is removed. You can also rub the inside of a walnut on a scratch or fill it with a wax crayon in the same colour as your hardwood floor to make it invisible.
Laminate floors: You can remove scratches from laminate flooring by filling the abrasions with melted crayon or wax pencil. It will completely camouflage the scuff marks and other minor flaws.
Tile floors: For marble, ceramic and porcelain tiles, non-abrasive toothpaste or vinegar can be used to repair floor scratches. After cleaning the surface with a dry cloth, you can rub the toothpaste or vinegar on the scratch in circular motions, paying special attention to its upper and lower ends. Once it dries, repeat the process twice or thrice until the scratch becomes nearly invisible. You can then seal the scratched area by applying some car wax on top of it. If car wax isn’t available, a coat of clear nail polish will do the trick as well.
However, please note that excessive use of vinegar on the tiled floor will end up doing your floors more harm than good.
Fixing your creaking floorboards

Can you hear the wooden or laminated floors in your home creak and squeak every time you walk across the room? If so, you should stop putting off this home improvement idea and fix your floors as soon as possible.
Most homeowners in Pakistan cover their concrete floors with wooden or laminate floorboards. It’s usually the friction between the boards and floor that causes it to creak loudly under pressure. If you want to get rid of that annoying sound, you need to reduce the friction using a powdery substance such as cornflour or talcum powder, both of which are easily available in every home.
Sprinkle a generous amount of powder on the floor and use a cardboard card to sweep it into the cracks between the boards. If you have wall-to-wall carpeting in your home, you’ll have to remove the carpet to get the job done.
If you’re looking for an in-depth explanation on how to fix squeaky doors and creaking floors, you can take a look at our guide on the topic.
Making your floor tiles look brand new
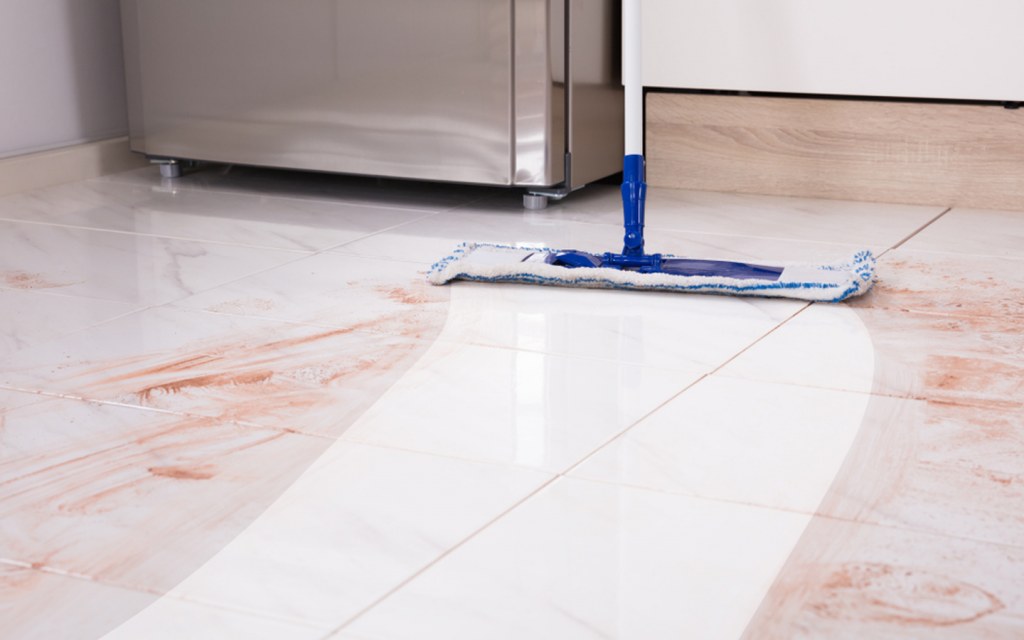
Your home can never look completely clean if your floors look dirty and unkempt. While tiled floors can make your home look lavish, they also have a tendency to get dirty really quickly and sometimes, a simple sweep or a wet mop just doesn’t cut it. If you’re looking for DIY home projects to keep you busy, you should definitely add this one to your list of things to do.
Although there are a lot of different types of tiles available in Pakistan, marble, ceramic and porcelain continue to be the top choice among homeowners. Therefore, we’ll be discussing cleaning hacks for these three types of floors.
Marble floors: If you have marble floors, you can use a solution of water and mild dishwashing soap to tidy up the floors and make them look brand new. Just dip a piece of cloth in the soapy solution and rub away any stains that might have formed on the surface. To clean the grout, make a thick paste of baking soda and water, then use an old toothbrush to gently rub it into the lines between the tiles to get rid of dirt and grime. Once done, clean the surface with a clean cloth dipped in water.
Ceramic floors: For homes with ceramic tiles, cleaning the floors with a solution of white vinegar and water in the ratio of 1:3 would work just fine. However, if you see any stubborn stains forming on the floor, you may want to use a thick paste of vinegar and baking soda to get them out. As for the grout, use an old toothbrush to apply some mild bleach solution on the lines between the tiles and then let it sit for about 5 minutes. Next, scrub the grout lines gently and clean the floors with fresh water.
Porcelain floors: To deep clean glazed porcelain tiles, you can mix one-fourth cup vinegar into a gallon of warm water and use the solution to mop the floor. Apart from restoring their shine, it will also prevent discolouration. On the other hand, the easiest way to clean unglazed porcelain tiles is to mop them with a solution of liquid dishwashing soap and warm water. You can then clean the entire area with fresh water to ensure the surface isn’t slippery.
Regardless of which type of tiles you have in your home, make sure to use a microfiber cloth to mop the floor so that you aren’t left with any puddles of cleaning solution. Moreover, only use these tile cleaning hacks once every two to four weeks, as excessive use of soap or vinegar can affect the shine and smoothness of the tiles.
You can check out more budget-friendly ways to clean tile floors here.
Removing Stains from Your Carpets
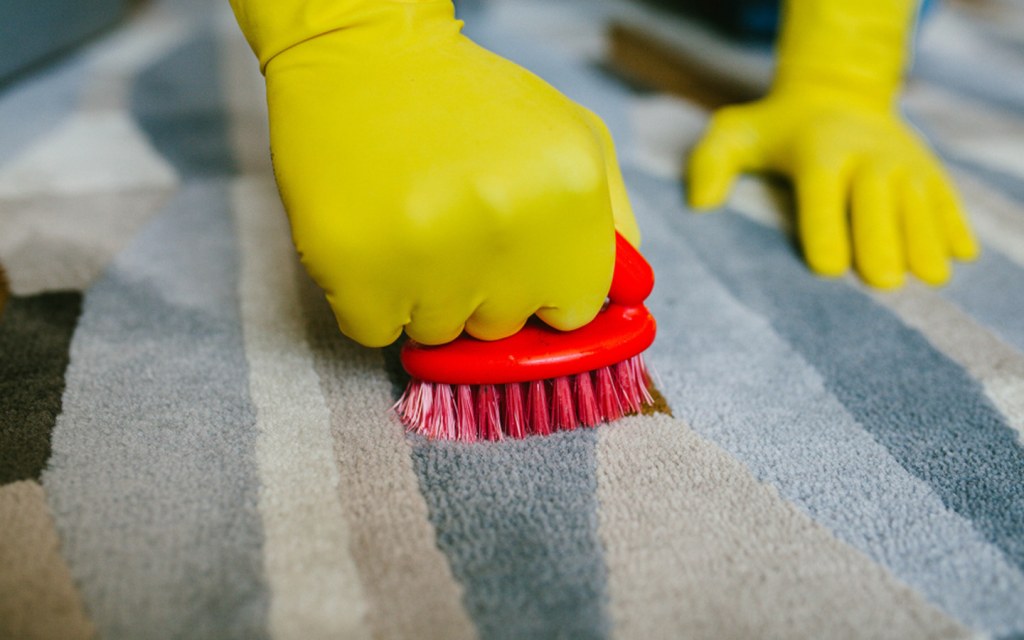
What could be a better time to deep clean the carpets in your home than this?
For this home improvement idea, all you’ll need is a bit of white vinegar, a bucket of water, carpet brush and a piece of cloth.
Firstly, you need to thoroughly remove the debris, soil and dust particles that may have settled deep inside your carpet fibre by scrubbing it with a carpet brush. Then, use a vacuum cleaner to pick up the dust particles and pollutants that may have come loose after the scrubbing.
The next step of this DIY project involves mixing a one-fourth cup of white vinegar into a bucket of warm water, dipping the carpet brush into the solution, and scrubbing the surface. Make sure there aren’t any puddles of liquid left on your carpet as you clean it. Once done, use a cloth dipped in fresh water to scrub the carpet again before leaving it to dry.
This easy-to-follow DIY home improvement idea will not only get rid of any and all stains on your carpet but also leave it smelling fresh and new. However, don’t repeat this process too often or else you might end up ruining your carpet.
Repairing old furniture
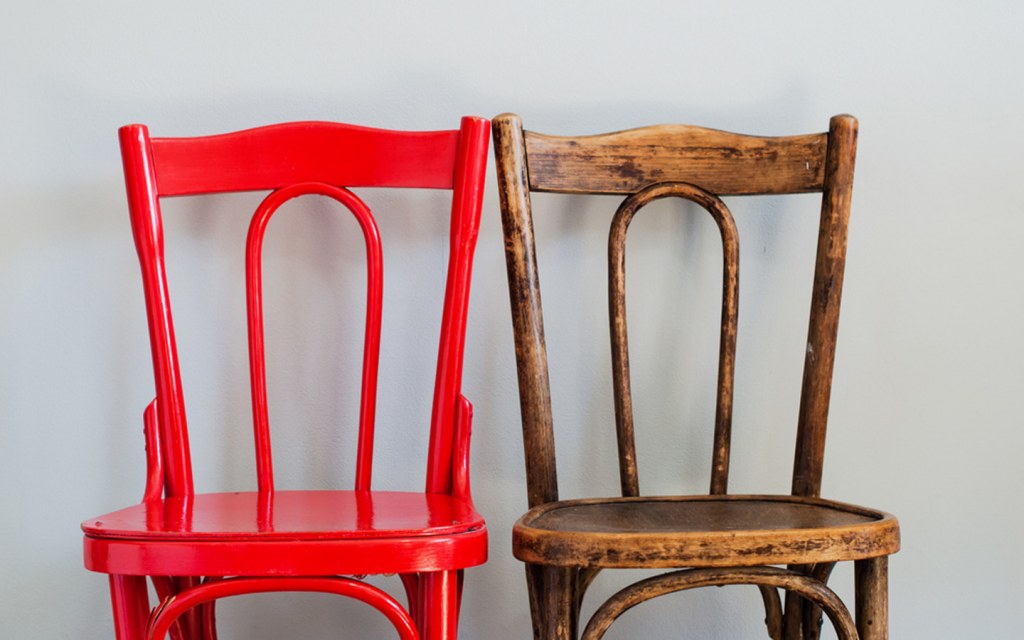
There are quite a few ways you can give your old furniture a new life while being stuck at home.
For starters, you can rub minor nicks and scratches out of your wooden furniture by using a small piece of cotton dipped in a solution of equal parts vinegar and olive oil, two common items in every pantry.
If your furniture looks really old and distressed, you can consider covering it with wallpaper or painting it over to make it look absolutely brand new. If you opt for the first idea, you’ll only require some wallpaper, glue and cutters. For painting the furniture, you will have to buy a can of paint and a paintbrush, if you don’t have one lying somewhere in your store. Other than that, replacing the fittings on your furniture may also give it an entirely new look.
However, if you can’t purchase paint, wallpaper and other hardware at the moment, you can simply dedicate a few hours to deep cleaning the upholstery. It is one of the easiest home improvement ideas to keep you busy on the list, as you can make a DIY upholstery cleaner without having to step outside of the house.
For fabric upholstery, mix one-fourth cup vinegar with 1 tablespoon of liquid soap and pour it in a spray bottle. You can spray this mixture on your couch and rub the fabric with a soft linen cloth to get rid of any stains, patches or dirt. If you have leather upholstery, spray a mixture of half-cup olive oil and one-fourth cup vinegar on your couch and buff the surface with a soft cloth. You will instantly notice the difference.
Starting a small garden

Don’t have enough space to start a garden outside your home? There’s no need to feel disappointed because you can always start one in your kitchen, balcony or rooftop.
Adding some greenery to your home can improve the aesthetics of your home, purify the indoor air, and have a positive influence on your mood. This is one of the most ideal DIY home improvement projects for beginners because there aren’t a lot of chances that you’ll somehow mess this up.
The first step to setting up a small garden is to pick a place in your home that received plenty of sunlight. Some herbs and vegetables require a partially shady area to grow while others need a lot of natural light. You’ll have to choose a site depending on what types of seed you are planning to sow.
Secondly, you’ll have to do some research on what kind of plants will thrive in the present weather. Thirdly, you’ll need to secure some plant pots to kick-start your DIY home project. If those aren’t readily available, you can fill up old mason jars with soil to get the job done.
To learn more, check out our guide on how to start a kitchen garden on your balcony.
Deep cleaning your bathroom

Looking for home improvement DIY projects that don’t require you to buy new supplies? Well, how about deep cleaning your bathroom and making it look spotless?
While areas such as the living room, drawing room and hallways are cleaned frequently owing to the amount of traffic they receive, bathrooms often tend to get ignored. Needless to say, an unclean bathroom can be really harmful to your personal health as it can become a breeding ground for different bacteria, viruses and mould.
The first step to thoroughly cleaning your bathroom is to declutter it. Clean all the cabinets and storage areas in your bathroom and throw away the products that have expired, gone bad or are simply of no use. Then, make a cleaning solution by mixing equal parts of water and vinegar to get rid of hard water stains and soap built up on the floor and other surfaces. You can also spray this solution on the walls, bathroom mirror, sink, faucets and bathtub. Make sure to let it sit for about 15 minutes before scrubbing away the stains. To maintain good hygiene, you should use bleach or another disinfectant to get rid of the germs that your bathroom may be harbouring.
If you detect any mould infestation while cleaning up space, make sure to check out our guide on how to get rid of mould in your bathroom.
Decluttering and organising your house
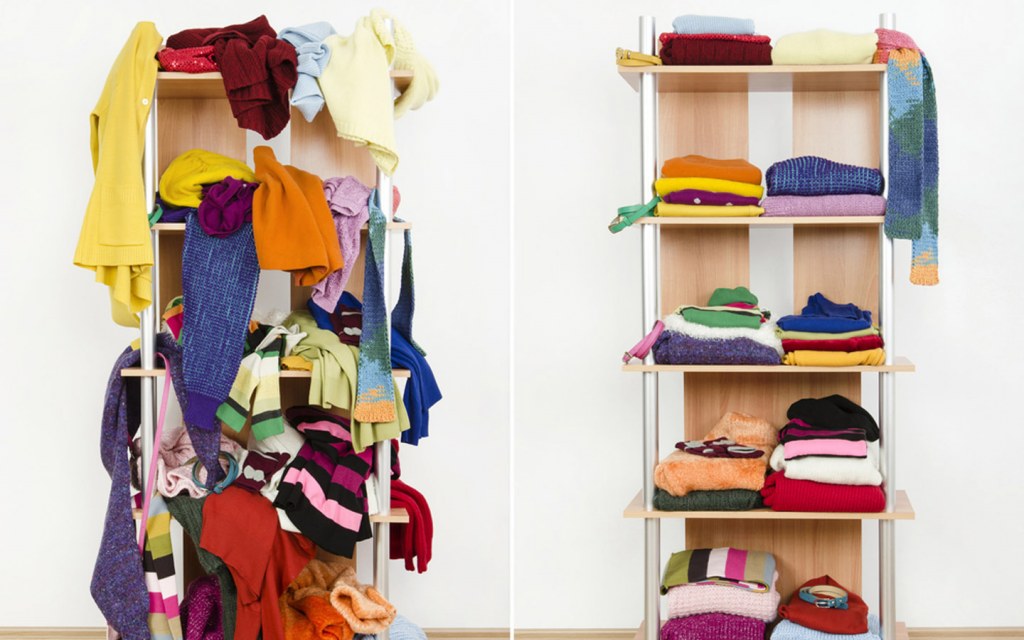
The prospect of decluttering and organising a home can be rather overwhelming for some, but when it comes to DIY home improvement projects for beginners, this one is definitely among the easiest ones that you can take on. It can help you alleviate your stress while being stuck at home.
To make things easy, you can declutter your home one room at a time, starting from your bedroom and then moving on to different parts. All you’ll need for this project is a few cardboard boxes and permanent markers, some trash bags, a clock with timer, an all-purpose cleaner and lint-free cleaning cloth. Dedicate a certain amount of time for decluttering each room and strictly follow that timeline to avoid any distractions. For better time management, it’s recommended to first completely declutter your home before starting on cleaning and organising.
If you have trouble figuring out whether you should store, donate or throw away a certain item, ask yourself if you have used that particular item in the last year or if you will find any use for it in the next six months. Items that hold some sentimental value, are extremely expensive or can be functional if repaired must only be kept if they are useful.
Moreover, you can also use this free time to declutter and organize the storage areas in your home, such as garage, storerooms and basements.
Organizing your kitchen cabinets
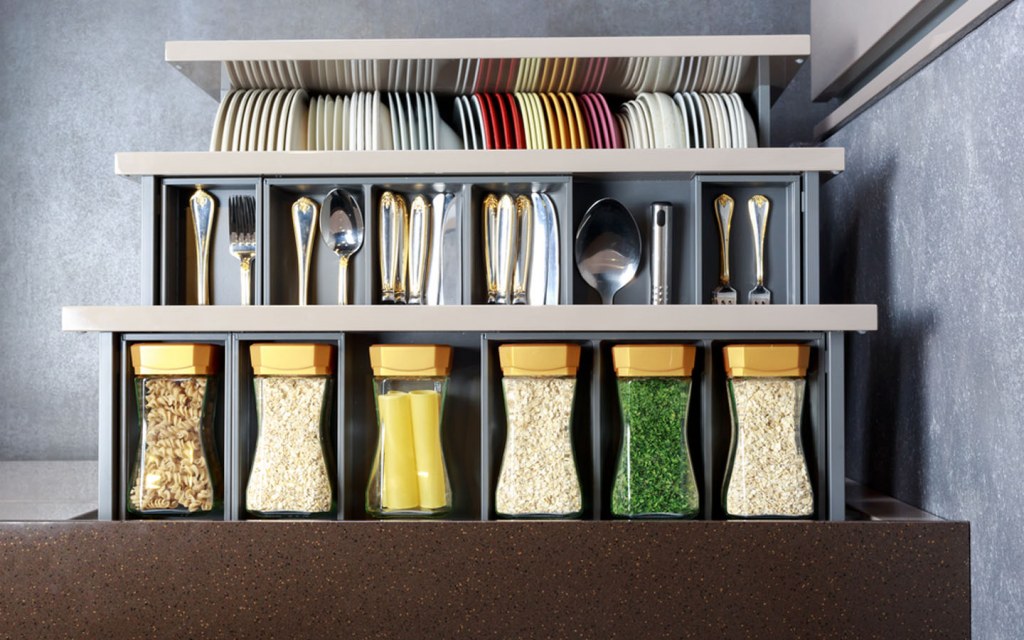
Despite being one of the most important parts of the house, kitchens don’t receive much attention. So, if you are looking for some DIY home improvement ideas to make your life a little easier, you can start by organizing your kitchen cabinets.
The first step to getting organized kitchen cabinets is to empty them out completely and then sort through the clutter. Items such as expired products, damaged Tupperware and broken lids must be discarded right away. The second step is to thoroughly clean the insides and outsides of each cabinet and drawer in your kitchen. Then, clean all the items and categorize them into food and utensils. Small electronic appliances, pots, pans and other containers can go in the lower cabinets while spices, cans and food items can be placed in the upper ones.
It’s always better to store items you use frequently in easy-to-reach places, whereas utensils and appliances you seldom use can be stored towards the back of the shelves. You can also increase vertical storage by using a microwave baking rack.
In case you want to organize your pantry, take a look at our guide on how to properly store food in your kitchen.
Sprucing up your front door
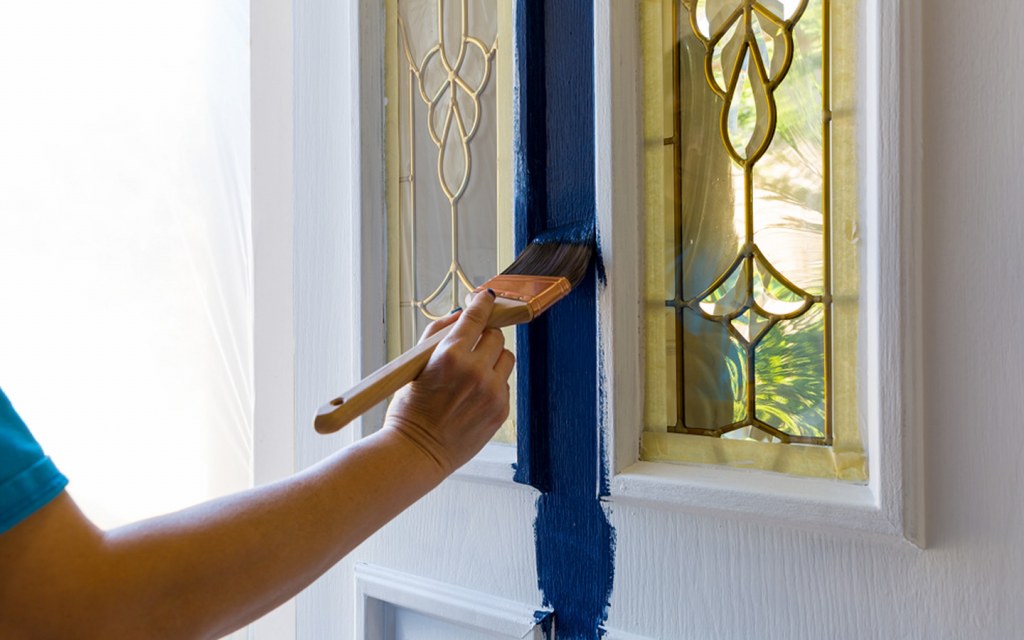
Your front door is the first thing guests and visitors see when they visit your home. If you want to spruce up the entrance to your residence, the easiest way to accomplish that is through a fresh coat of paint.
If the front door of your house hasn’t been painted in a while, you can easily brighten it up without spending a lot of money. Also, it will only take a few hours to complete the process.
So, how do you go about adding new life to your main entrance? Let’s find out.
You should start off by using a cleaner to cut down all the grease build-up and dust particles on its surface. Then, remove all the hardware such as doorknobs so you can properly paint the entire door. If your door is in a good condition, you can lightly sand it with a sanding paper to make the surface a little rough, which will allow the primer to adhere more efficiently. While water-based paints can be easily applied using a roller brush, it’s better to invest in a high-quality paintbrush for oil-based colours, as it will ensure a streak-free application.
So, which of these home improvement DIY projects have managed to inspire you? Let us know your thoughts and comments by our list of things to do at home during the lockdown by dropping an email on blog@zameen.com.
For more of our DIY weekend home improvement projects and tips on inexpensive home upgrades, stay connected to Zameen Blog – the best home décor and real estate blog in Pakistan. You can also subscribe to our newsletter to receive the latest updates about lifestyle, construction and property trends in the country.


