Home » Construction » Beginner’s Guide on How to Tile a Bathroom Floor
In This Post
– Popular types of tiles
– Required tools
– Steps to tile a bathroom floor
Learning how to tile a bathroom floor is not as difficult as it may seem. If you are renovating or remodelling your home on a budget and don’t want to spend extra money on hiring a professional to do the job for you, here is a handy guide on how to lay floor tiles in the bathroom along with the list of items you will require to complete the project.
Tiling a bathroom on your own won’t only help you save on the cost of labour, but also give you the lifetime bragging rights.
So, if you want to become a tiling expert, this simple and easy-to-follow guide on how to install bathroom floor tiles has got you covered.
Before we discuss how to tile a bathroom floor, let’s briefly discuss the most popular types of tiles people use in their bathrooms as well as the list of items required to do the job.
Popular Options for Bathroom Floor Tile

- Ceramic tiles
- Porcelain tiles
- Vinyl tiles
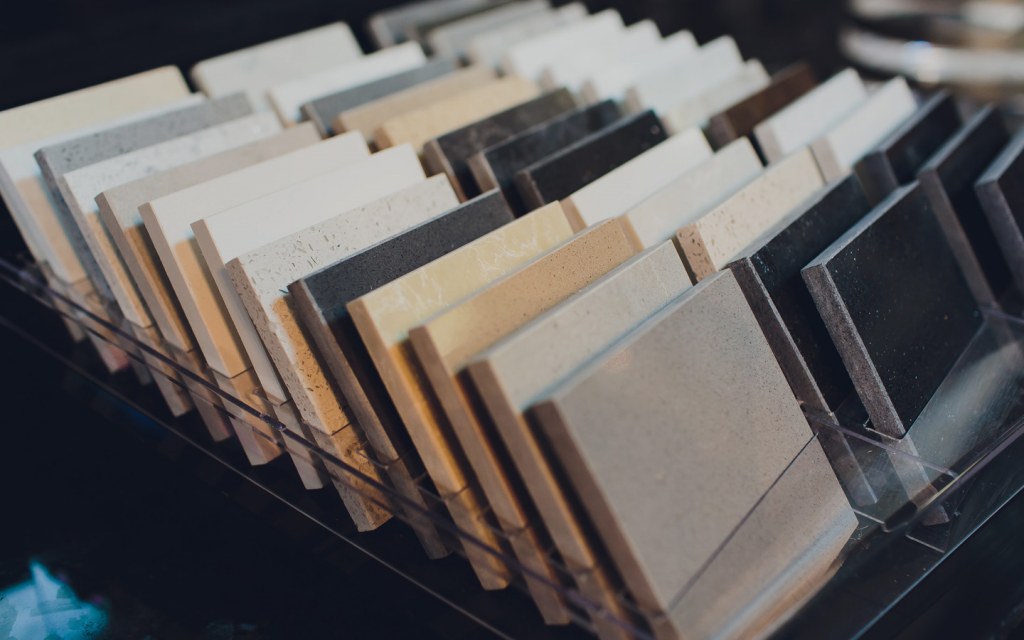
Most homeowners prefer using ceramic, porcelain or vinyl tiles in their bathrooms. One of the main reasons why they are considered popular flooring material for bathrooms is because they are resistant to water absorption. Secondly, compared to most other flooring materials, ceramic, vinyl and even porcelain tiles are considerably less expensive. They also last for a long time and are available in a variety of colours, patterns and designs, making your space look trendy and elegant.
For more information on the topic, here are the rates and types of different floor tiles in Pakistan.
Moreover, when tiling a bathroom floor, it is recommended to choose small tiles instead of the larger ones – especially if you have a small space. Large, square-shaped tiles can make a room look smaller than it is. Small or medium-sized tiles, on the other, can make even a small room look a bit more spacious.
Tools and Materials Required to Tile a Bathroom Floor

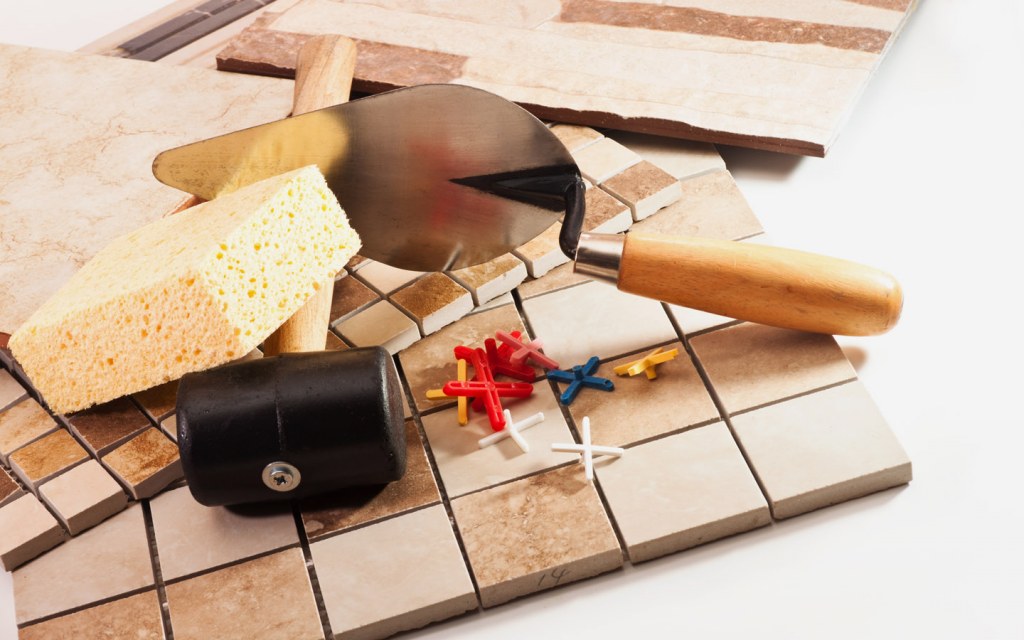
Apart from tiles, here is a list of materials and tools you would require to tile a bathroom floor.
- Measuring tape
- Pointed trowel
- Flat trowel
- Grout sponge
- Tile spacers
- Mortar
- Grout
- Waterproof sealant
- Backer boards
- Circular saw
- Drill
- Screws
- Level
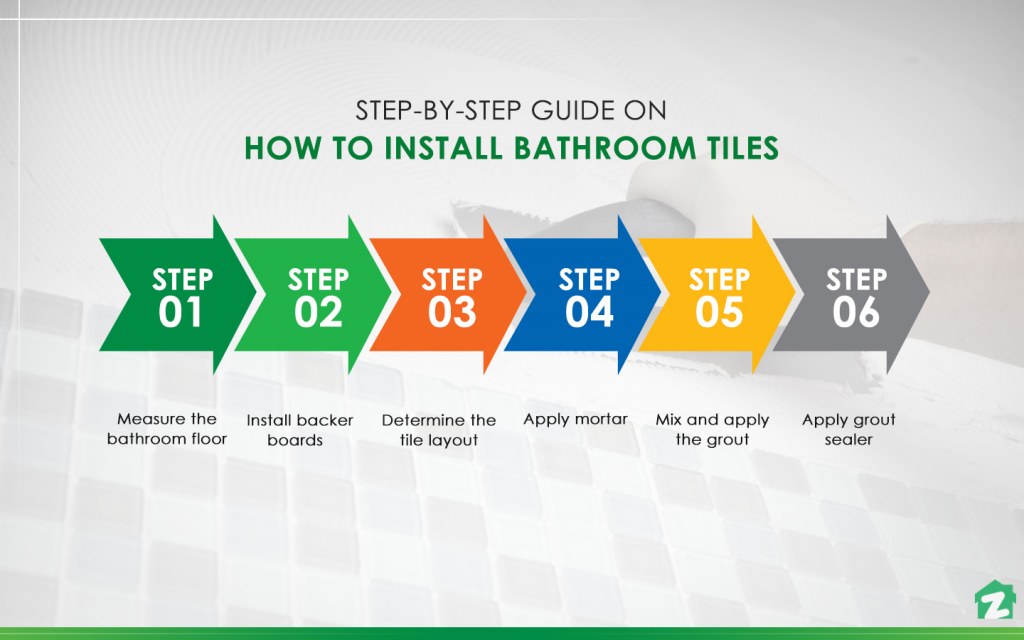
How to Tile a Bathroom Floor in 6 Easy Steps

Here is a breakdown of all the steps you need to take in order to tile your bathroom floor.

Let’s discuss each of these steps in a bit more detail.
Step 1: Measure the Bathroom Floor
Wondering where to start tiling a bathroom floor? Well, you first need to measure the area you would be tiling.
For this purpose, take a tape measure and note down the length and width of the bathroom – including the toilet and closets. Then, multiply the length of the floor into its width to determine the total square footage of the bathroom. You can ask your local hardware store or the place you’re buying the tiles from to help you determine how many tiles as well as mortar, grout and backing board you need to purchase.
However, if you want to calculate the number of tiles yourself, here are a few simple formulae to help you out:
- The total area of the bathroom in square foot = Number of 12-inch tiles needed
- The total area of the bathroom in square foot ÷ 0.5625 = Number of 9-inch tiles needed
- The total area of the bathroom in square foot ÷ 0.25 = Number of 6-inch tiles needed
- The total area of the bathroom in square foot ÷ 0.1089 = Number of 4-inch tiles needed
Just remember to buy a few more tiles than you actually need so that you have some extra material at hand in case one (or a few) breaks during installation.
Step 2: Prepare and Attach Backer Board
Backer boards are also known as cement boards and tile backing boards. It is an economical construction material that is usually used as an underlayment for bathroom and kitchen tiles as well as kitchen countertops to provide a sturdy surface. It accounts for durable and easy tile installation, reduces the chances of water damage and is rot resistant.
Moreover, since it is backer boards are porous, mortar and grout stick quite well to it.
Since these sheets are available in different sizes, you will need to calculate how many boards you want according to the total area of your bathroom floor.
In order to tile a bathroom floor, place the panels on the floor of your bathroom and use a circular saw to install it around the toilet, closet and other fixtures. Then, use a drill to screw the cement boards to the surface. However, make sure the screws are spaced about 6-inches apart from each other. Once the underlayment has been attached, you can use a level to ensure the surface is perfectly flat.
Step 3: Determine Tile Layout
This is the step where you can put your creativity on display.
Depending on the design and pattern you have in mind, start placing the edge tiles on the floor starting from one corner of the room. Line the edge tiles on the floor next to the wall and then move towards the centre of the room. Be mindful to use tile spacers to ensure the tiles are positioned accordingly. This will give you an idea of how the end product will look like.
If you are confused about how to tile a bathroom floor around a toilet, you might have to cut some tiles to properly install them. However, if you have no prior experience, you can ask the hardware store to cut them accordingly.
Once you are satisfied with the layout and arrangement of tiles, remove them a few at a time to apply thinset mortar.
Step 4: Apply Thinset Mortar
Thinset mortar is mostly used for indoor and outdoor installation of tiles. It is essentially a mixture of cement-based powder and water that ensure the tiles properly adhere to the surface. It is also resistant to moisture and mould infestation, making it the perfect option for the bathroom floor.
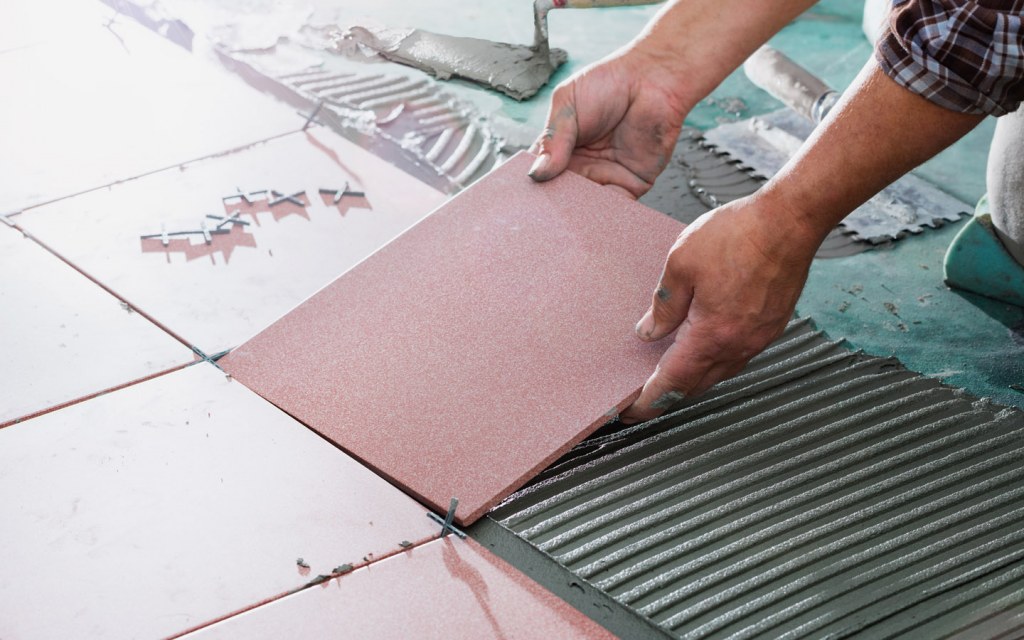
For installing bathroom tiles, start by applying a thin layer of thinset mortar on the floor in small sections. You can use a pointed trowel for this purpose. Remove a few tiles that you’ve laid out on the floor, coat the floor with a layer of thinset mortar, place the tiles on the surface and use spacers to ensure the hold the position.
Allow the mortar to dry for at least 24-30 hours.
Step 5: Mix and Apply Grout
Once the mortar is dry, remove the tile spacers so you can finally fill out the grout lines. It is one of the most important parts of tiling a bathroom.
Mix grout according to the packaging instructions and use a sponge to apply it between the tiles. You can use a flat trowel to ensure all lines are filled equally and appear level. Don’t leave any grout on the tiles, as removing it later would be extremely difficult.
It usually takes about 24 hours for the grout to dry properly. However, refrain from washing or scrubbing the tiles for at least a few weeks post-application.
Step 6: Apply Grout Sealer
A day later, when the grout is dry and the tiles are ready to be walked over, apply a store-bought waterproof grout sealer to protect the material below. This will help your tiles (and DIY tiling project) last a lot longer than most people realize.
So, this is all you needed to know about how to tile a bathroom floor. If you are looking for ways to make your bathroom look like a spa or want to avoid common bathroom design mistakes, head over to Zameen Blog – the best home décor and property blog in Pakistan.
You can also send us your queries and share your concerns on blog@zameen.com. In addition to that, subscribe to our newsletter to receive the latest updates about construction and real estate trends in Pakistan.


