Home » Home Decor » How to Wallpaper Your Room Like a Pro
Contrary to popular belief, hanging wallpaper is not as difficult as most people have made it out to be. In fact, you can simply learn how to wallpaper a room by watching a DIY tutorial or reading a comprehensive guide – just like this one.
Of course, the idea of messing up your walls by failing to properly line your wallpaper can be a bit daunting, especially if you are a DIY beginner. However, that fear should not keep you from getting in on this timeless and budget-friendly home décor trend. If hung the right way, wallpapers can completely transform your space. As long as you follow a few important wallpaper installation instructions, the entire application process is going to be pretty simple.
Usually, people prefer buying patterned wallpaper to add some texture to their rooms. But depending on your personal style preference, you can choose whichever pattern or design that catches your eye. Just make sure the colours you have selected wouldn’t clash with the rest of your home décor.
Tools Required to Hang Wallpaper like a Pro
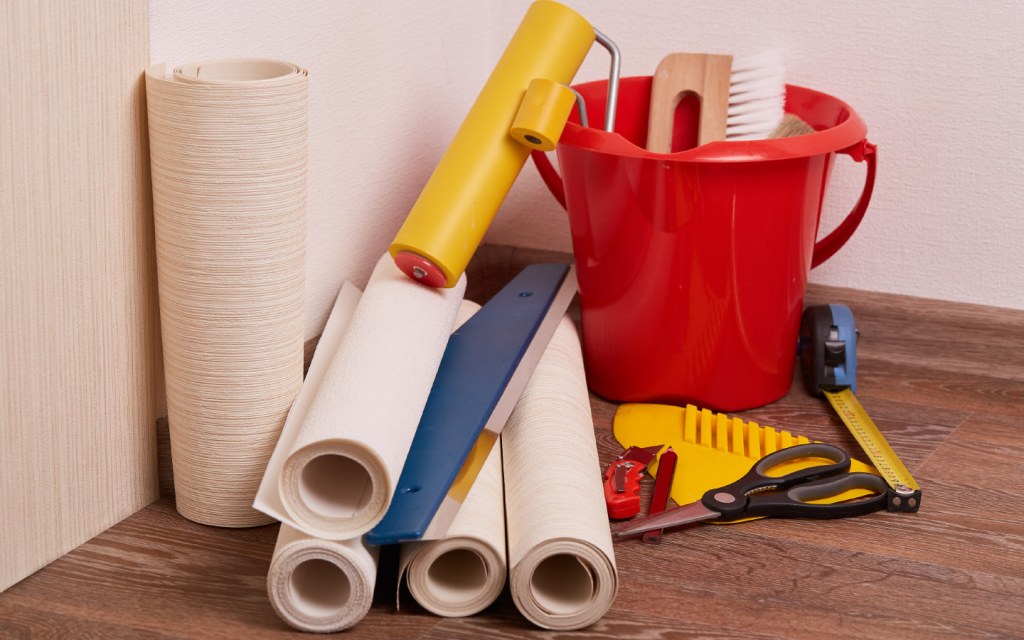
Before we discuss things like how to line up wallpaper or where to hang the first piece of wallpaper, here is a list of tools and items you will need for this DIY home décor project:
- Measuring tape
- Pencils
- Scissors
- Dropcloth or newspaper
- Wallpaper paste or glue (if needed)
- Paste brush
- Wallpaper brush
- Lining paper (if needed)
- Utility knife
- Sponge and a bucket of clean water
- Paint roller
- Ladder or stepstool
- Snap blade
How Much Wallpaper Should You Buy?

Calculating the surface area for wallpaper application works the same way as calculating the paint quantity for a room.
How much wallpaper you need to buy depends on the size of your room. The easiest way to go about it is to measure the length and height of the walls you are planning to cover with a tape measure. Measure all the coverable surface area, including the space above the door frames and around windows and cabinets. Once you have all the measurements (sans the area size of windows and doors), multiply the length of each wall into the height of the room, to get the square footage of the room.
Since wallpaper is sold in square feet, your final figure will give you a clear idea of how many rolls you need to buy to wallpaper your room.
Pro tip: If you have no prior experience of how to wallpaper a room, buy about 20% more than what you have measured to ensure you have some spare material in case something goes wrong.
How to Wallpaper a Room in 6 Easy Steps
Let’s take a look at how to wallpaper a room step by step:
- Step 1: Prepare your wall
- Step 2: Measure your wallpaper
- Step 3: Draw a plumb line and start cutting
- Step 4: Apply wallpaper paste
- Step 5: Start hanging
- Step 6: Trim off the excess paper
Now that we’ve laid out the complete steps to give you an idea of what the process entails, let’s discuss each of these wallpaper tips for beginners in detail.
Step 1: Prepare Your Walls
This is one of the most crucial yet widely overlooked steps of hanging wallpaper.
Once you have bought your desired wallpaper, you need to prep your walls for the application. First of all, make sure your walls are flat and free of any cracks or holes. If there are any visible bumps or crevices on the surface, take some time out to fix them or hire an expert, if required.
Then, paint your walls the base colour of your chosen wallpaper to make your application look flawless. Even if a few seams were to show through, no one will be able to tell! After the paint is completely dry, apply a coat of oil-based primer with a paint roller or a brush followed by a layer of wallpaper primer. Make sure to cover your floors with a layer of old newspaper or old sheets while preparing your walls.
Let the primer dry for about two hours before hanging your wallpaper.
For those who might be wondering why this step is necessary, the answer is that using an oil-based primer ensures a smooth installation and removal of your wallpaper.
Another Pro Tip: If your walls are pretty old or have a lot of surface imperfections, you should invest in some lining paper to cover up these flaws.
Step 2: Map Out and Measure Your Wallpaper
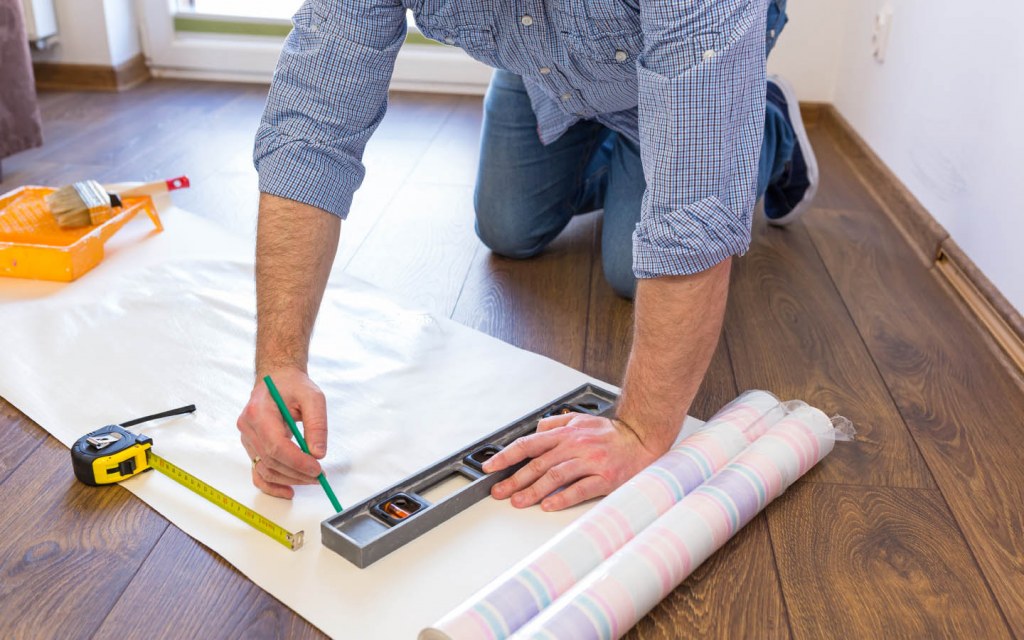
This is probably one of the most intimidating steps in this guide on how to wallpaper like a pro.
When it comes to mapping out and measuring your wallpaper, precision is the key.
First, you need to envision how you want your end product to look like. This will help you determine how you should line your wallpaper and where the seams would fall. This is a very important step – especially if you are dealing with patterned wallpaper. Depending on the layout of your room, you can opt for mirroring seams on opposite walls or go for a random pattern match.
Now, roll out your wallpaper on top of a clean surface and use a measuring tape and pencil to mark the length of the paper you to cut as per the pattern you have chosen. Ideally, add 4 to 6 inches to your measurements for a clean application.
Step 3: Start Cutting Your Wallpaper
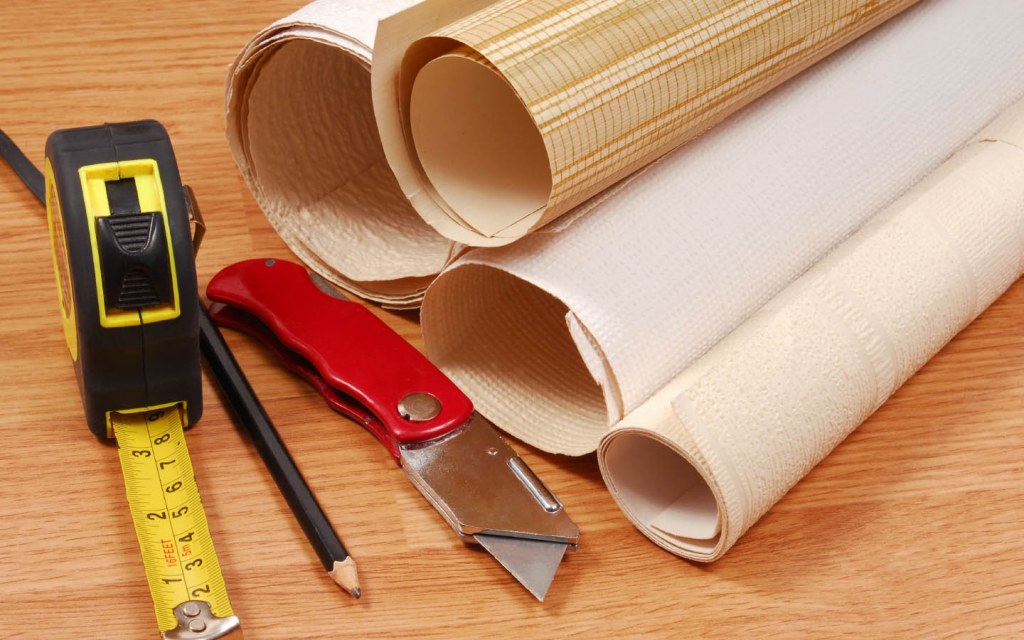
Wondering how to cut wallpaper? Well, it is pretty straightforward.
While your wallpaper primer is drying off, pick up a pair of scissors and start cutting your wallpaper according to the pencil marks you’ve made. Make sure each piece if cut in a straight line. You can cut out multiple pieces before starting to hang them on your wall. Spreading them on the floor side by side will also ensure you have not made a mistake while measuring the paper in step 2.
Step 4: Apply Wallpaper Paste
There are usually two types of wallpapers available in the market: pre-pasted and un-pasted.
For the pre-pasted variety, you must follow the manufacturer’s instructions. Usually, these wallpaper strips need to be soaked into a pan of cool water before being folded in on themselves (pattern side out) to activate the adhesive material at the back.
As for the un-pasted wallpapers, you will need to spread a sheet of plastic atop your work table or the floor. Then, unroll your wallpaper and turn it over so that it’s pattern-side-down. Use a plastic bucket to make the paste as per the instructions that are given on the packaging and stir the mixture before spreading it on at the back of the paper. Most experts have different opinions on how to apply wallpaper paste, but a majority recommends using figure-eight motion to apply the adhesive on the paper, as this ensures it will be spread evenly.
Peel-and-stick wallpapers are also gaining popularity among homeowners. These wallpapers do not require any sort of adhesive and can be hung rather easily on the wall once you peel off the protective lining at the back of the paper.
Step 5: Start Hanging Your Wallpaper

Here comes the part you had been waiting for.
One of the most important tips on how to wallpaper a room is to start in a corner. After you’ve applied the adhesive at the back of your paper, wait for about three to two minutes before hanging it on the wall using a six-foot level or a plumb line, whichever works for you. Hang your first piece of wallpaper in a straight line starting from the ceiling and then lightly press it on the surface going all the way down to the baseboard. You can use a wallpaper brush or a plastic levelling tool to get rid of any air bubbles or wrinkles.
According to most interior designers, one should always start out in the middle of the wallpaper and then push the wrinkles or bubble with a tool towards the outer edge. This will keep your wallpaper from stretching out.
To hang wallpaper without seams showing, it’s important to use a level or a plumb line to guide you. Moreover, use a wet sponge to clean any wallpaper glue that might be visible.
How to Wallpaper Corners
Wallpapering both the inside and outside corners can be a bit difficult, but it definitely doable.
For an inside corner, you need to cut your wallpaper strip at least half an inch more than required (in width). This excess paper will wrap around the corner of the wall. When you cover the adjoining wall with the paper, it should end right inside the corner. This will keep the seams from showing.
As for outside corners, add an extra 3 inches to your paper width measurement and then wrap the excess around the corner to make sure it stays put even if someone bumps or brushes past it.
This is one of the most important wallpaper tips for beginners.
How to Wallpaper Around Electric Sockets
This is also a pretty valid concern. However, the best way to deal with this is to apply the wallpaper atop the section of the wall bearing the socket and then use a pencil to mark its edges. Then, use a utility knife to make a hole in the centre of the socket after feeling it with your hand.
Two important things you need to keep in mind at this point: a) the power must be switched off, and b) all the bubbles and creases have been removed from the surface.
Once you’ve made a hole in the middle, cut the paper diagonally toward the corners of the socket so that you’re left with a flap. Now unscrew the plastic fitting from the wall, fold the flaps into the empty space and reinstall the plastic fitting so that the paper is concealed.
Use a brush to smooth around the edges and do not turn the power on until you’re sure the wallpaper paste is completely dry.
Step 6: Trim Off Excess Paper

Remember those extra inches we added to each strip of wallpaper, now’s the time to trim them off. Use a snap blade or a cutter to cut off the excess at the bottom to make your room look as flawless as possible.
If you are a DIY beginner just trying to learn how to wallpaper a room, you should start small and then move towards wallpapering your living or drawing-room. Also, use simple patterns to avoid any confusions while mapping out the wallpaper in the initial steps.
That’s a wrap for our step-by-step guide on how to wallpaper your room. You can always send us your questions or suggestions regarding the topic at blog@zameen.com. In addition to that, subscribe to our newsletter on the right if you want to receive updates about home décor trends, lifestyle and property-related news.
For further guidance, check out our detailed analysis on choosing between wallpaper and paint for your home.
Stay connected to Zameen Blog, the leading real estate and construction blog in Pakistan, to learn more about wallpaper tips for beginners and other DIY home improvement projects that can upgrade your décor without breaking the bank.


