Home » Construction » Some Easy DIY Plumbing Repairs
From leaky taps to clogged drains, every home faces some fundamental plumbing issues over time, irrespective of how much was invested in developing the house. Generally, the older the house’s construction, the more frequent the problems will be. Regardless of how and why the problems occur, what exactly are you, the homeowner, supposed to do when your toilet will not stop running or when that dripping tap in the sink continues to waste precious water? This is when many people consider Do-It-Yourself (DIY) plumbing repairs as the best alternative. Wondering why?
Well, labour in Pakistan is relatively easy to come by, and a professional plumber can help you deal with your immediate plumbing woes with ease. However, what if the plumber is not picking up your calls or is busy and cannot arrive immediately? This is when you need to think about whether there is an alternative to hiring a plumber.
Guess what? If you are handy with a few tools lying around your house, you can take on some easy DIY plumbing repairs, saving not just money, but also the hassle and waiting time associated with hiring a plumber for the same task.
Wondering how to go the DIY route and which plumbing repairs you can tackle on your own? Keep reading to find out…
The Tools You’ll Need
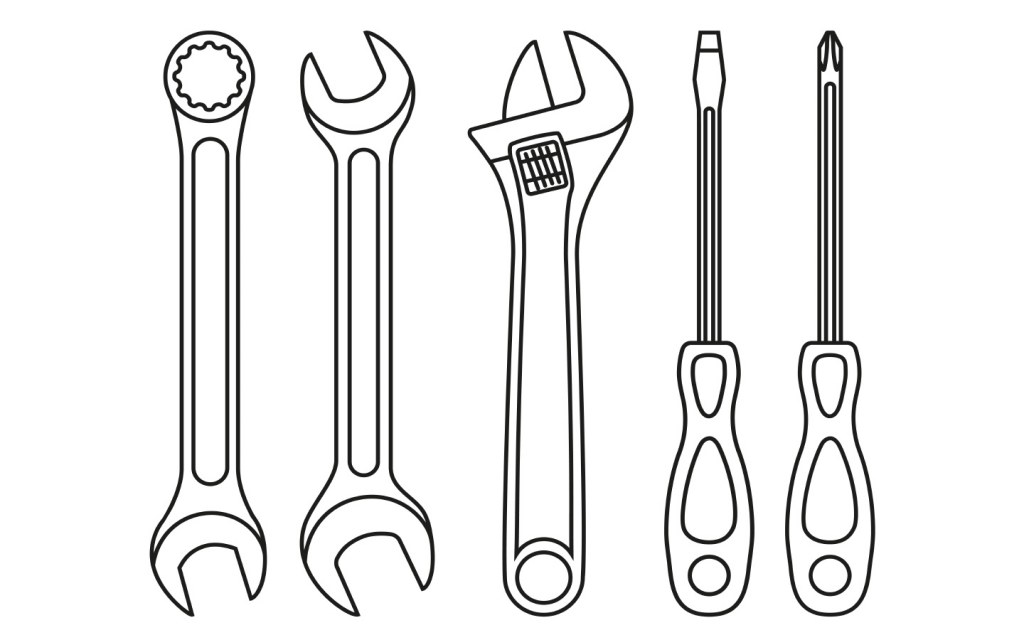
Not having the right tools at hand is one of the many mistakes that can ruin any DIY project. To avoid falling prey to this scenario, here are some of the tools that must be included in your toolkit at home for immediate DIY plumbing repairs at any time:
Screwdrivers
Plumbing fixtures often need to be disconnected and loosened so they can be adequately fixed. For this, you might need both a flathead as well as a Phillips screwdriver. The flathead works for screws that have a minus sign on their head, while the Phillips screwdriver fits perfectly on screws having a plus sign at the top.
Adjustable Wrench
While most people who own a car have a basic wrench for nuts and bolts at home, plumbing repairs require a very particular wrench. A pipe wrench or an adjustable wrench is ideal for tightening pipe joints because it opens up wider than a standard wrench and can be adjusted to fit a wide variety of widths.
Combination Pliers
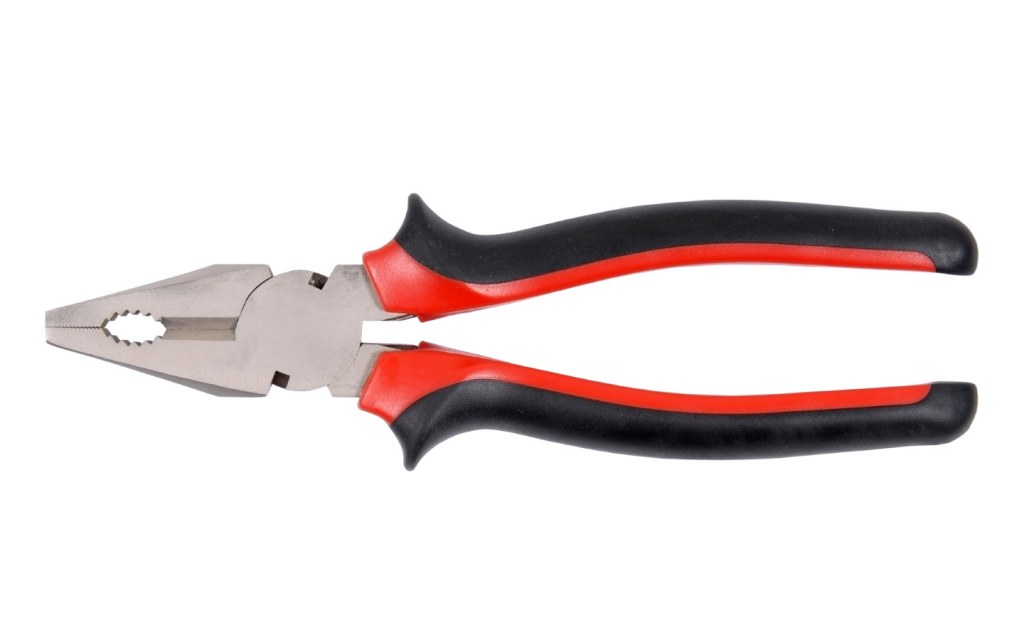
While not compulsory, especially since you have an adjustable wrench at hand, having combination pliers can be helpful not just for plumbing repairs but for other tasks as well. Lineman pliers or combination pliers generally have a thick head with serrated edges for better grip and smooth edges for cutting wires. Its multipurpose use makes it a must for every household.
Drain Snake
A drain snake is like a thick piece of bent wire with a curved edge. This tool is ideal for removing clogs from your drains, especially if the blockage was caused by soap residue or hair stuck in the pipe.
Plunger
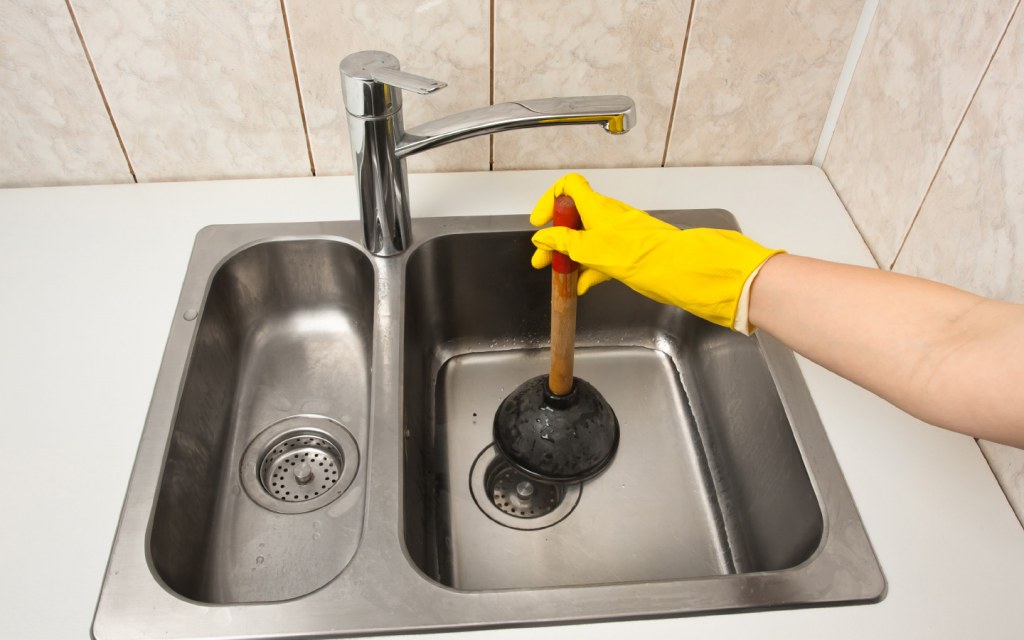
This universal tool for plumbing is already present in almost every home. A plunger is required to get rid of small clogs. It is also ideal for clearing up the drain of your toilet, bathtub, or sink.
O-Rings
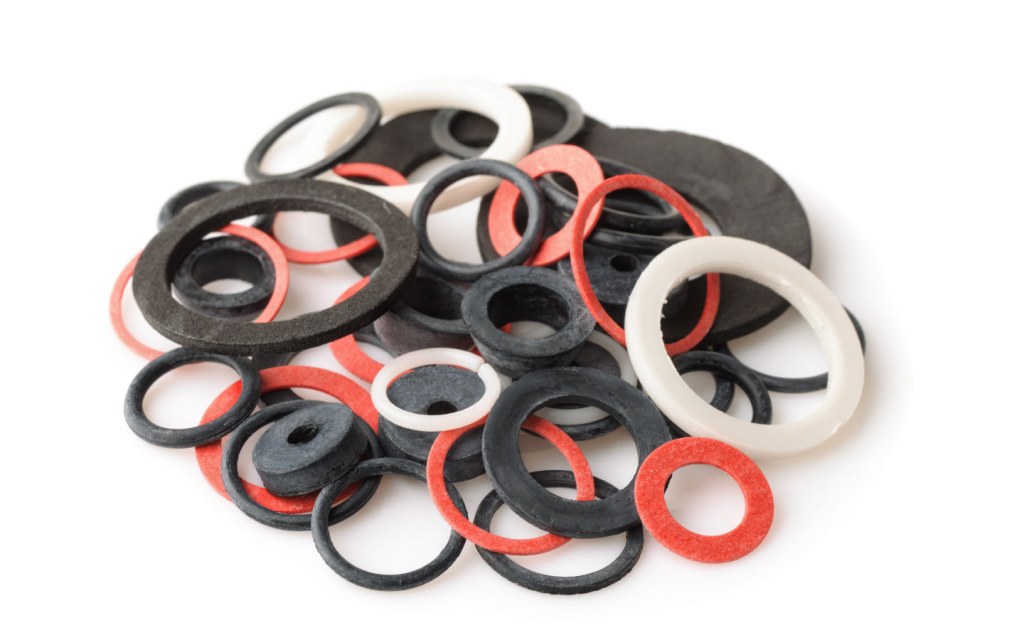
An O-Ring is also known as a washer and is a thin disk with a hole in the middle. This is used as a fastener in a variety of settings and is available in metal, plastic and rubber alternatives. The one used most commonly in plumbing though, is a rubber O-Ring, which secures a joint and prevents water leakage. These rings are also available in a range of sizes, and you need to know which ones are used in your home’s plumbing system before purchasing them.
Turning Off the Water Supply
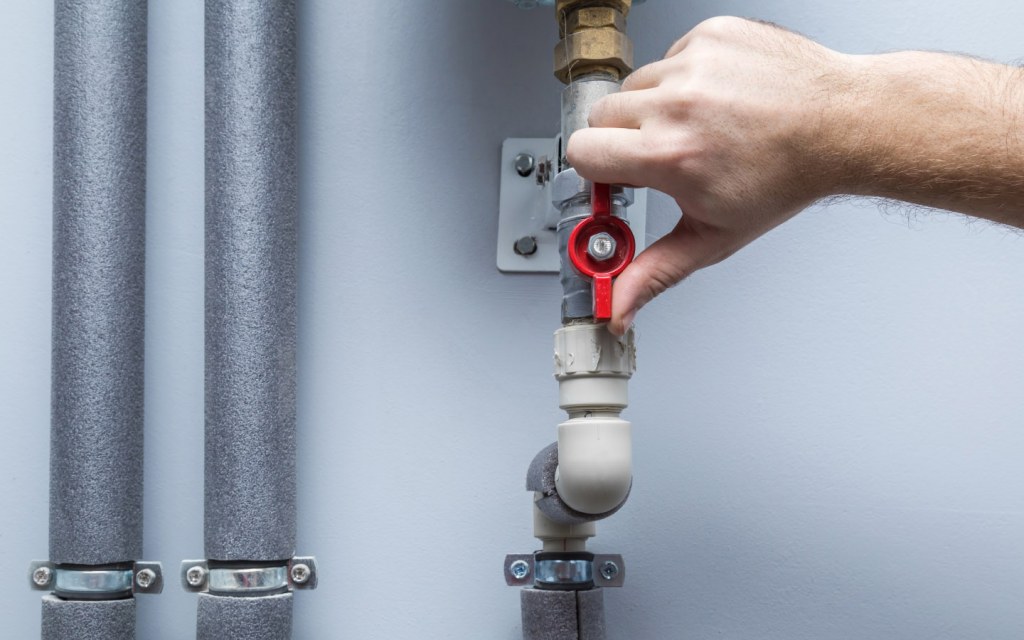
Now that you have the tools in hand, you might want to begin the repair work immediately, but wait, have you turned off the water supply in your home before attempting DIY plumbing repairs? While many small plumbing problems might not require you to turn off the water supply completely, it is always safer to do so, especially with DIY repairs. You do not want to end up with a flooded bathroom as a result of a repair job gone wrong.
To turn off the water supply, look for the main water valve in your house or flat. For houses, it might be located near your water pumping machine, while for flats, it is often located on the roof, next to the water tank supplying water to all the apartments below. Once you find it, turn it off and then follow the tips given below to tackle a variety of plumbing repairs on your own. For smaller jobs like a leaking tap or toilet, both the fixtures come with a water access valve located underneath them, which can be turned off before performing a repair.
DIY Plumbing Repairs
Fixing a Leaky Tap
Problem:
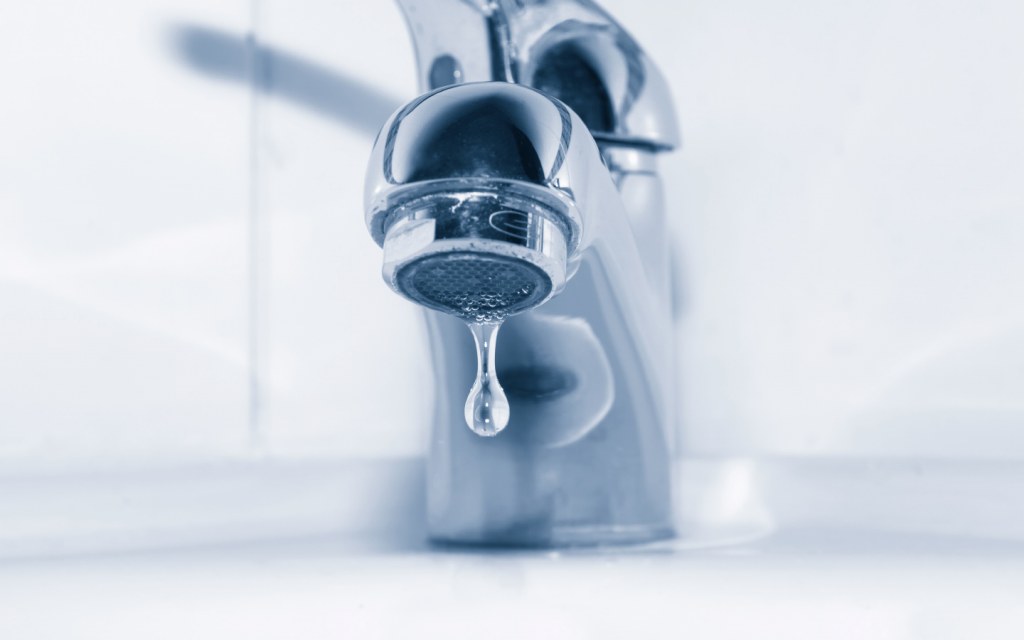
Tap fittings loosen with time and need to be fixed. This can be said for all taps, whether they are located in your bathroom or your kitchen. The first sign of a leaking tap is that it starts to drip even after it has been turned off. Whether the drip is constant or in the form of drops falling from the spout every few seconds, the problem needs to be fixed.
Solution:
A leaking tap or faucet is relatively easy to fix. In most cases, all it needs is a replacement of the O-ring to make the joint watertight again. However, you will need to pry off the decorative cap placed on it before being able to access the actual screw that holds the tap in place. Once you unscrew the faucet, you can just take out the old washer, replace it with a new one and put the whole thing together again.
Installing a New Tap
Problem:
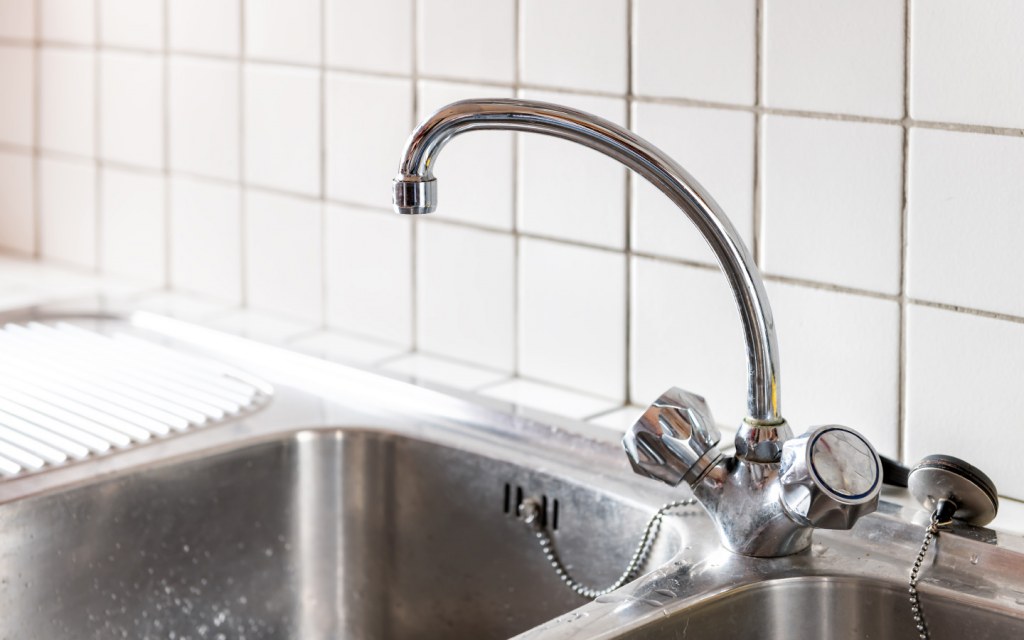
If the leak is persistent and the above solution did not work for you, you should consider replacing the tap entirely to avoid wastage of water.
Solution:
The process of replacing a tap is pretty similar to repairing a leaking one, but first, buy a replacement that is an exact match to your current tap. If you know what kind of faucets are fitted in your home, then buying a new one is easy. Otherwise, you need to take off the decorative cap and unscrew the tap. Collect all of its parts and take them with you to the local hardware store.
The shopkeeper should be able to tell you which kind of tap would work best as a replacement, even if an exact match is not available. While dismantling the faucet, be sure to note what part goes where so you can simply assemble it back once you have a new tap in hand.
Unclogging a Drain

Problem:
A poor sewerage system in your area can result in water coming back up the drain. Alternatively, hair, soap residue, and other solid waste can collect in your drainage pipe over time, resulting in a blockage. The blocked drain could be of a sink, a tub or a toilet and here’s how to unclog every type.
Solution:
If you have a slow draining sink, you can remove any possible clogs by putting a drain snake down the drain. If you have soap or oily residue (in the case of kitchen sinks) that has collected on the walls of your drain pipe, the drain snake should be able to loosen it enough for it to pass through the pipe into the gutter.
In case of a blocked bathtub or shower drain, the biggest culprit is generally strands of hair collected within the pipe like a ball and not allowing water to pass through. A drain snake can usually get rid of the clog for you. However, remember to pull the clog towards you, not the other way around. You do not want this hairball to end up as a clog further down the pipe where you cannot pull it out.
A clogged toilet is another type of drain blockage that most homes face. A rubber plunger is all you need to get the drain fixed and flowing again.
Fixing Running Water in a Toilet
Problem:
Is your toilet’s flush continuously wasting water? Want to put a stop to it? While you could always close the valve that supplies water to the flush until you need to use it every time, this is not a permanent solution. A running flush can be because of a worn stopper or flapper, a faulty fill tube or an improperly adjusted float.
If you have running water in your toilet, you first need to determine the cause. Open up your flush and press down or pull up on your flush, based on its mechanism.
Generally, when you flush, a flapper or stopper is removed from its spot, causing the water in the overflow tube to rush into the toilet bowl. Once the water is drained, the stopper takes its place once again. The fill tube then sends more water to the overflow tube, keeping it filled and ready for the next flush.
Meanwhile, a floating object, usually a ball or a cup, rises along with the water to a certain height (usually one and a half inch) below the mouth of the overflow tube, ensuring that there is no overflow, and thus, no running water. The float’s height is maintained with the help of an adjustment mechanism, which does not allow the water to rise higher than the overflow tube.
Solution:
Keeping the working of your toilet in mind, check if the stopper or flapper is returning back to its original position and offering a snug fit. If it is worn or loosely fitted, you can try adjusting it. However, adjustments might only work temporarily. For a replacement, buy the same flapper for your flush as the one currently installed and note how it is connected to the chain that pulls it up. Next, just take the old stopper off and replace it with a new one.
Another aspect to check is whether the fill tube is adjusted correctly to send water into the overflow tube. If it is not placed correctly or if it is underwater, it will not send water to the flush as per its purpose. The fill tube should connect to the fill valve for water supply on one end, but its other end should be right over the opening of the overflow tube to fill it up. The tube’s mouth should remain above water at all times to send water with pressure into the overflow tube. If the fill tube is clogged or missing, just purchase a new one and fit it into the fill valve to hang over the overflow tube.
The last possible cause of a running toilet might be that the float’s level is set too high, due to which, water is filling up, over and around the overflow tube. If the overflow tube constantly has water above its own height, it will continuously drain water into the bowl in an attempt to maintain the right water level. Ideally, the float should stop about 1.5 inches below the opening of the overflow tube. The float’s adjustment is made based on its type. For a ball float, the arm connecting the float will have a screw that allows it to move up or down. For a cup float that is located around the fill valve, the fill valve usually has a rod to help the float move up or down.
Be sure to check the flush after each DIY repair to ensure that the problem has been eradicated.
These are just a few of the many problems that you may face with your home’s plumbing system that can be fixed easily. However, when it comes to plumbing problems, leaving it to the pros is always the right approach. If your DIY plumbing repair does not yield the desired results, call up a plumber immediately.


