Home » Home Decor » DIY Guide to Painting Your Kitchen Cabinets
If you’re looking to give your kitchen a makeover but are feeling restricted by your budget, we might have just the solution you’re looking for! One of the best ways to upgrade your kitchen without spending a lot of money is by applying a fresh coat of paint to your cabinetry. Depending on your personal preferences and home décor, you can paint your kitchen cabinets whichever shade you like, as both light and bold colours are suitable for this space.
Painting kitchen cabinets can dramatically improve the look and feel of what happens to be one of the most important yet widely ignored room. Not only that, but it can also make your kitchen look brand new without putting a dent in your household budget.
Before we discuss tips on how to paint old cabinets in your kitchen, you must first ask yourself if you’re ready to take on this DIY project – because it will take longer than you might think. Moreover, if your cabinets have an intricate design, have a lot detailing or are not made of wooden material, you might want to hire a pro or ask someone who has done this before to help you out.
Choosing the Right Paint for Your Kitchen Cabinets
Since most homes feature wooden cabinets in the kitchen, using water-based latex paint might be the way to go.
Unlike oil-based paints, which can take up to 16 hours to dry, water-based latex paints are ready for another coat within 2 to 3 hours. Moreover, oil-based paints are prone to yellowing, whereas latex paints don’t have this flaw. They are also easily washable, which is always a pro since kitchen cabinets can accumulate a lot of dirt and grease on a daily basis.
However, before you make any purchases, visit your local hardware store and check out the labels on the paint cans for specific instructions. Also, choose a high-quality acrylic paint for a smooth application and flawless finish.
You can read more about different types of paint finishes for your home in our detailed guide on the topic and choose the one that fits your requirements.
Moreover, if you are interested in getting new cabinetry, take a look at the types and rates of wooden cabinets in Pakistan to see which material would be the right choice for your kitchen.
How to Paint Your Kitchen Cabinets in 8 Easy Steps
Are you still stuck in the debate to paint or not to paint kitchen cabinets? Well, if you are worried about the process being too complex or hard to follow, then you should relax because while it is time-consuming, painting your kitchen cabinets doesn’t require a lot of experience or skills.
Here the steps you must follow to paint your kitchen cabinets.
- Step 1: Prepare the area
- Step 2: Remove all the hardware, doors and drawers
- Step 3: Label the doors and hardware
- Step 4: Get rid of grease and dirt
- Step 5: Check if your cabinets need sanding
- Step 6: Apply primer
- Step 7: Paint the kitchen cabinets
- Step 8: Reassemble kitchen cabinets
Let’s further discuss each of these steps and learn how to paint kitchen cabinets like a pro.
Step 1: Prepare the area
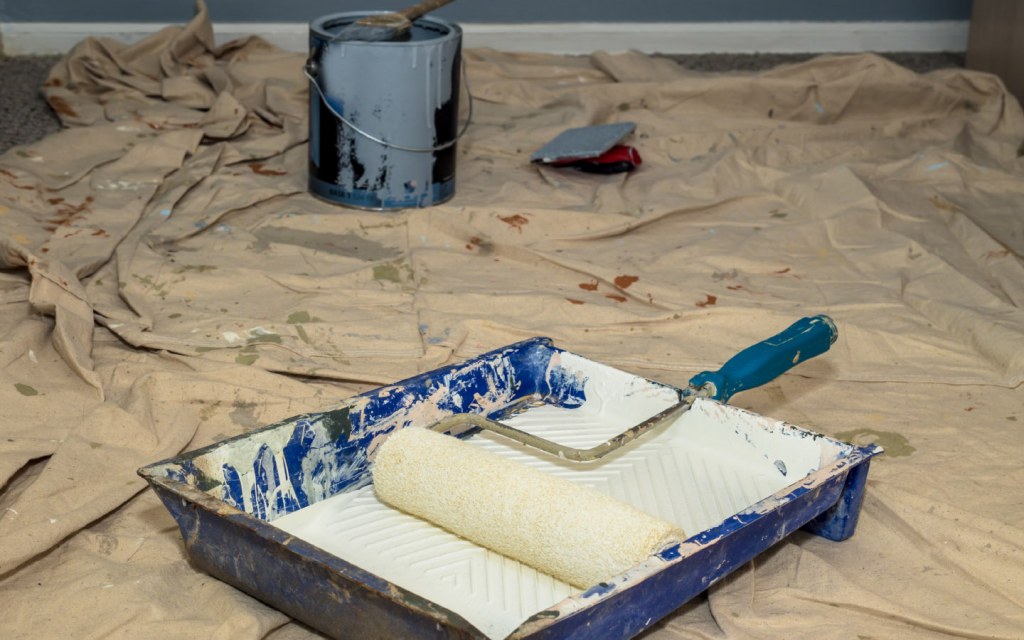
Whether you have taken on similar DIY projects in the past or are a complete rookie, please remember to prepare your area before opening any cans of paint.
Start off by covering your kitchen countertops, floors and other surfaces with plastic tarp or sheets that are easy to remove and impermeable. Then, empty all of your shelves, drawers and move the appliances that might get in your way or not allow you to paint the sides of the cabinets, such as refrigerator or oven. You can also tape off the edge of the ceiling where the cabinets end for clean and perfect execution.
You can also cover portions of your wall to prevent any paint splashes from ruining them.
Step 2: Remove all the hardware, doors and drawers
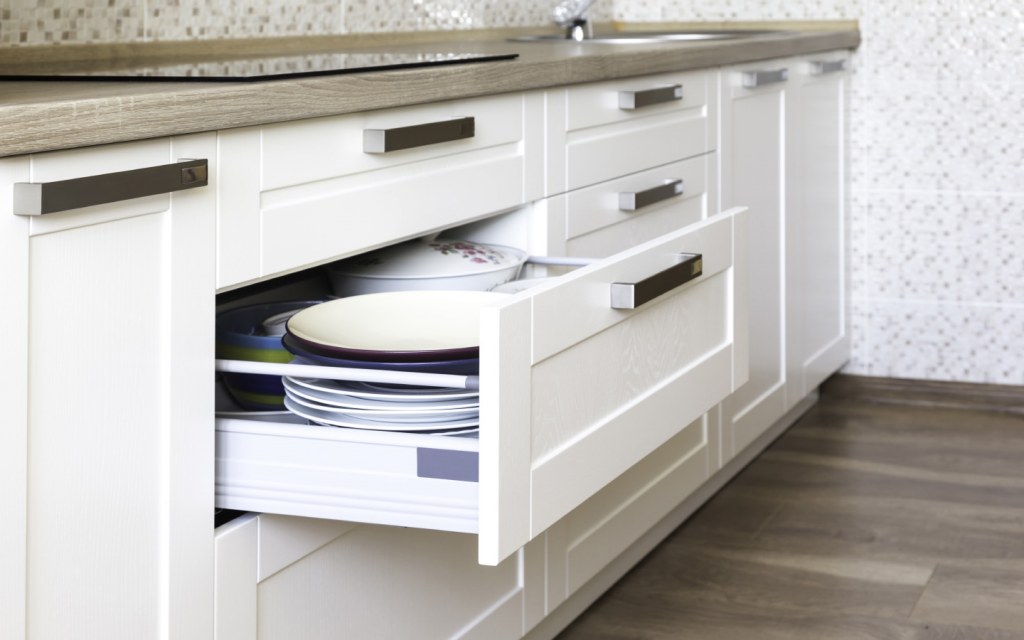
Once you’re done spreading and taping plastic sheets in your kitchen, the second step is to prep kitchen cabinets for painting.
The best way to go about it is to pull out all the drawers, take off all the doors and remove all the hardware such as knobs and handles. Then, move all of these items to another location where they can be painted. This will leave you with more space to move around in the kitchen as you paint the exterior and interior of your fixed cabinetry.
Also, if you can manage to fit a worktable in your kitchen space, it is advised that you do so.
Step 3: Label the doors and hardware

As most of us already know, removing things are way easier than installing or assembling them.
The same goes for cabinet doors and hardware, especially hinges, which may seem pretty easy to put back together but can actually take a lot of time. Therefore, the best way to deal with this while preparing to paint your kitchen is by labelling all the important part. All you need is a pencil to lightly label each piece you’ve removed from your kitchen and then write the corresponding number on the shelf it belongs to. Just make sure it’s written in a spot that would still be visible following the paint job.
You can also use your mobile phone to take pictures of where each and every item goes into the kitchen.
Step 4: Get rid of grease and dirt

One of the biggest mistakes people make while painting kitchen cabinets is not thoroughly cleaning them beforehand.
Wondering how to clean kitchen cabinets before painting? Well, you can dampen a clean piece of cloth in a solution of equal parts white vinegar and water, and then use it to wipe down the greasy surface. Once done, take another piece of cloth and dip it in warm water to remove the residue before wiping the cabinets dry with a paper towel. If you don’t do this, the grease on the surface would make it hard for your water-based paint to stick, resulting in patches and discolouration. The same goes for the dust particles. If you don’t clean the dirt off your cabinets and drawers, your paint applications would look uneven and flawed, which is the last thing you want.
As for all the hinges, screws, cabinet door knobs and handles, soak them in a solution of warm water and dish soap. Later, scrub off all the grease and grim, dry everything with a paper towel, and store them in a jar or box in a dry location.
Step 5: Check if your cabinets need sanding

Cabinets and drawers, especially those made out of wooden material, can start looking a bit distressed after a few years if not maintained regularly. If you have young children or pets, then there’s a good chance that the lower cabinets in your kitchen have some visible nicks and scratches. The thing is that you cannot hide these minor imperfections and dents with a coat of paint.
The best way to fix this problem is by using a sanding paper, though make sure not to go overboard and ruin the surface.
Similarly, if your cabinets were previously stained or have a thick layer of paint covering them, it’s always better to sand and buff them before applying the primer.
Step 6: Apply primer

A lot of homeowners skip this step while painting or refinishing kitchen cabinets. But if you want your end product to look good, you should consider applying primer to your bare kitchen cabinets and their doors. Not only does this product make it easier for the paint to stick but also keeps the wood from absorbing the paint and the knots from bleeding through, covers up minor imperfections and prevents any blotches in the colour.
While applying primer on the cabinets, start with the inside and then move towards the outside. You can use a brush or a small roller for the purpose. Also, remember than primer application doesn’t have to be perfect, so just focus on covering the entire surface instead of worrying about making even strokes with your brush.
Step 7: Paint your kitchen cabinets
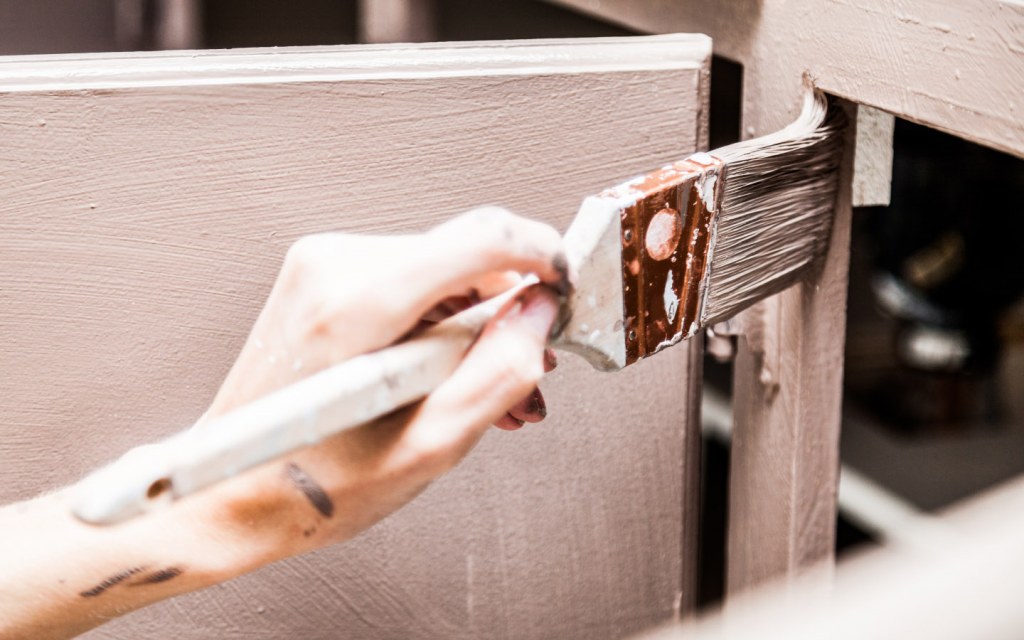
Once you’ve applied the primer, now comes the time to paint your kitchen cabinets – finally!
You can use a small hand roller to paint the flat surfaces and a high-quality paintbrush to colour the corners. One of the most important painting techniques for kitchen cabinets is to start with even brush strokes and then feather out the edges. Also, do not paint over the wet surface. As for the cabinet doors, first, paint the side facing the inside of the shelf and let it dry before moving on to the other side.
Depending on the type of paint you’ve bought and how long it takes to completely dry, repeat the process once again and apply the second coat.
Allow all the cabinets, drawers and doors to dry before moving or touching them. Ideally, you should leave them overnight before beginning the reassembling process.
Step 8: Reassemble kitchen cabinets
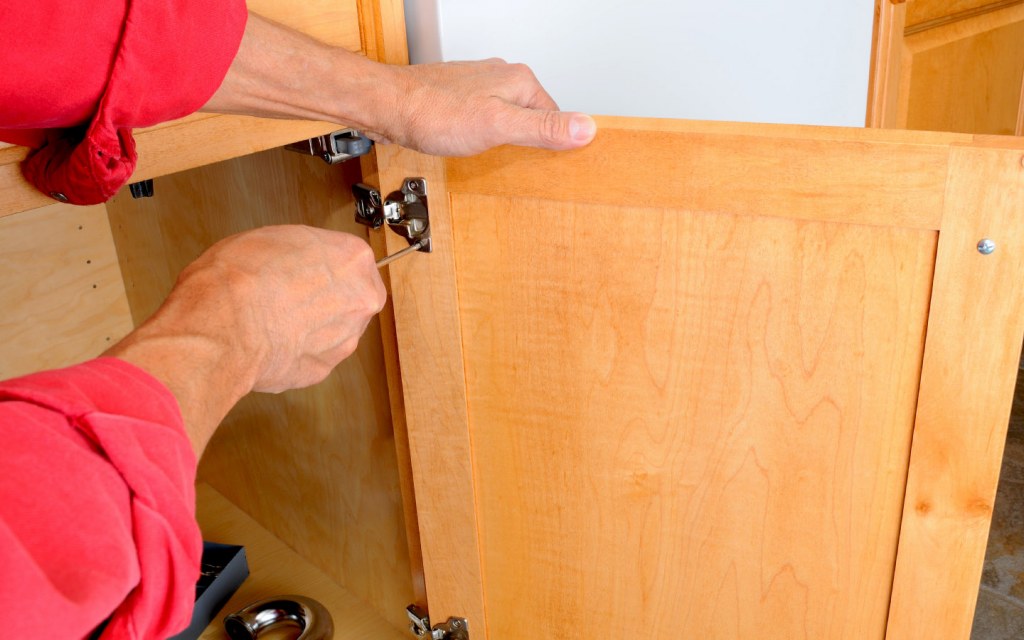
After everything that was painted get completely dry, it’s time to put it back together.
You can now put back the drawers and reassemble your cabinet doors and hardware by using the labels and pictures to make sure every item goes back in its correct spot.
A word of advice: don’t rush it. If you are having a hard time figuring out how to put back the hinges back on the cabinet or how to re-install the doors, ask someone for help instead of trying to fit it in and accidentally chipping off the paint.
That’s our wrap on how to paint cabinets in your kitchen by following a few easy steps. In case you are planning to remodel your kitchen or are in the middle of a construction project, take a look at our in-depth guide on common kitchen design mistakes to avoid. Furthermore, check out some easy tips on how to organize a messy kitchen to ensure your space always looks clean and tidy.
In case you have any questions regarding the topic, get in touch with us by emailing at blog@zameen.com.
For more DIY home improvement projects, head over to Zameen Blog – the best construction and property blog in Pakistan. You can also subscribe to our newsletter to receive the latest updates about lifestyle, tourism and real estate in the country.


