Home » Construction » How to Install a Tile Backsplash in Your Kitchen
In This Post
– Tools required to install a tile backsplash
– Step-by-step guide on installing a backsplash
Despite being one of the most important rooms in any house, kitchens rarely get the recognition they deserve. While homeowners spend hundreds of thousands of rupees on making sure their drawing room and living room interiors perfectly reflect the latest home design trends, the kitchen décor remains more or less the same for years on end. Therefore, in order to inspire you to give your kitchen a makeover, we’ve brought you a budget-friendly DIY guide on how to install a tile backsplash that will make your cooking space look elegant and timeless.
Required Tools and Materials

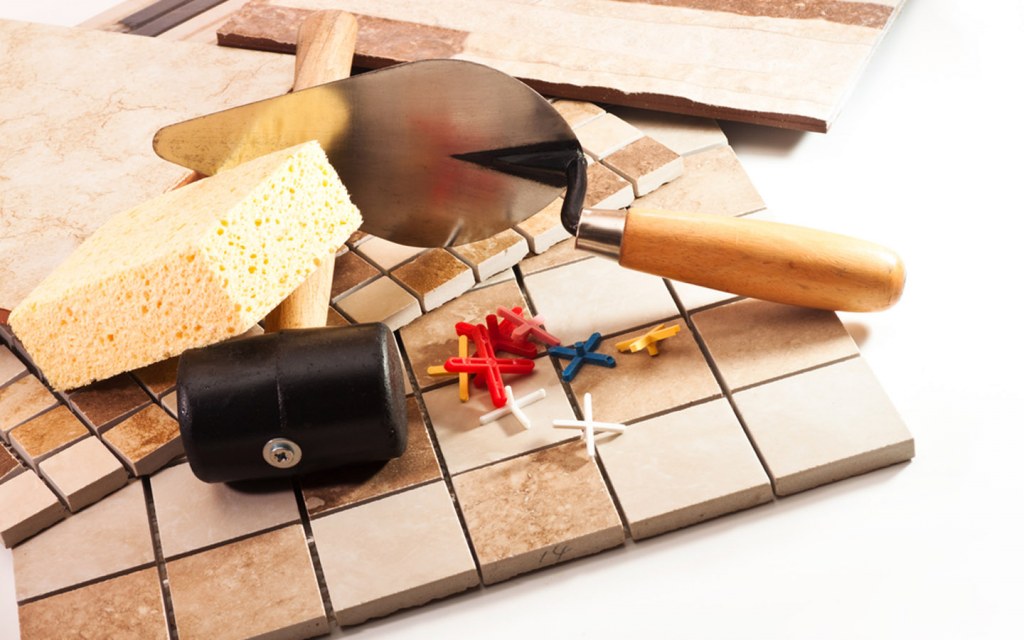
Here are some of the most important tools and materials required to install backsplash tiles in the kitchen.
- Electrical drill or driver
- Angle grinder
- Level
- Notched trowel
- Wall tiles
- Measuring tape
- Tile adhesive
- Grout
- Grout sealant
- Grouting sponge
- Tile spacers
Before you purchase your construction materials, don’t forget to check our detailed guide on how to check the quality of marble and ceramic tiles on site.
How to Install a Tile Backsplash in 4 Easy Steps
Did you know that DIY backsplash installation is easier than most people think it is? Even if you are new to the world of DIY home improvement, you can still install backsplash in your kitchen without hiring a professional.
- Step 1: Prepare the Area
- Step 2: Plan the Tile Layout
- Step 3: Install the Tiles
- Step 4: Apply Grout
Let’s discuss each of these steps in advance.
Step 1: Prepare the Area

Whether you are planning to install peel and stick backsplash or ceramic tile backsplash, the first step is to thoroughly clean the surface to be tiled. Make sure to get rid of any grease, dust or other debris on the walls. In case of a glossy surface, you might want to sand the area for an easier tile installation.
Once you’ve cleaned the walls, turn off the power to the kitchen and remove the covers around the electrical outlets. Prepare the area by covering the outlets with tape. Similarly, get rid of everything on the countertops next to the area that will be tiled. You should also cover them with tarp or plastic to avoid any damage to the surface. Moreover, don’t forget to move appliances such as fridge and cooking range, away from the walls so you can tile them properly.
Step 2: Plan the Tile Layout

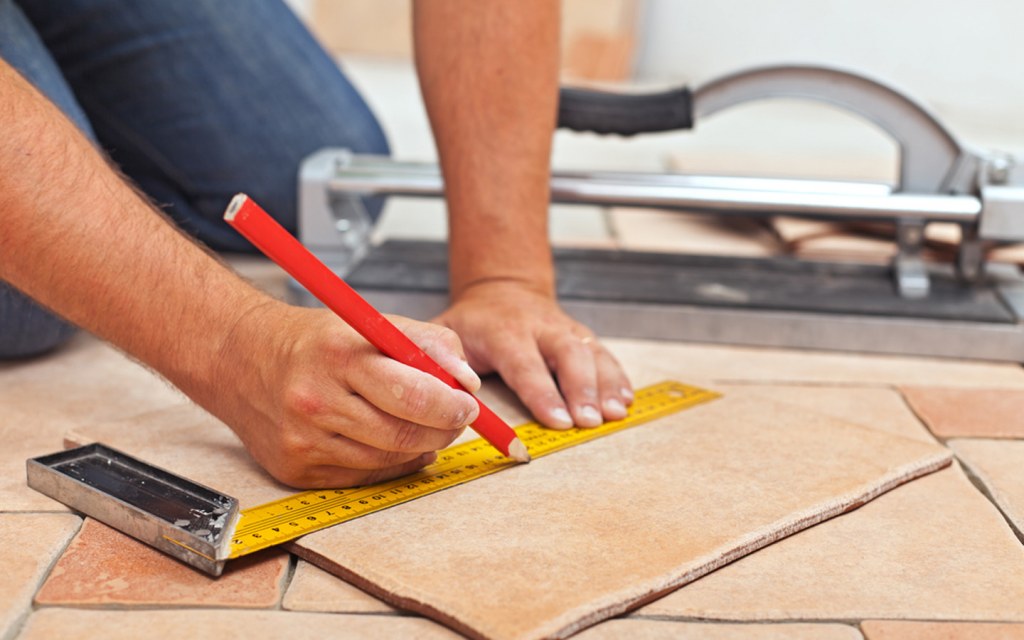
Measure the area that has to be tiled. It is recommended to use a pencil to mark the starting and endpoints of your backsplash, as it would give you a clear idea of where to start installing your tiles.
Now comes the hard part. If you’ve ever tiled your floors before or have seen someone else do it, you would know that even experts first place the tiles on the floor to determine the layout before they begin installing them. However, since you can’t do the same with wall tiles, the best way would be to cut a piece of fabric or plastic sheet with the exact same dimensions as the wall area that needs to be tiled. Use tile spacers to eliminate any errors in measurement.
Then, lay the cut out down on the floor and place the tiles on top of it to figure out their layout. Depending on the design you have in mind, you may have to play around with tiles of different sizes and colour until reaching the final decision.
Furthermore, use a level to make sure your kitchen countertops are perfectly straight. If not, you will have to cut the tiles so that they can fit. Since wall tiles are generally lighter and thinner, you can simply borrow an angle grinder from your nearby hardware store to get the job done.
Step 3: Install a Tile Backsplash

If you are planning to install peel and stick backsplash, you can simply attach the adhesive mat on the wall after measuring and cutting it accordingly. However, if you are installing porcelain or ceramic tile backsplash in your kitchen, you will have to use thinset mortar for the application.
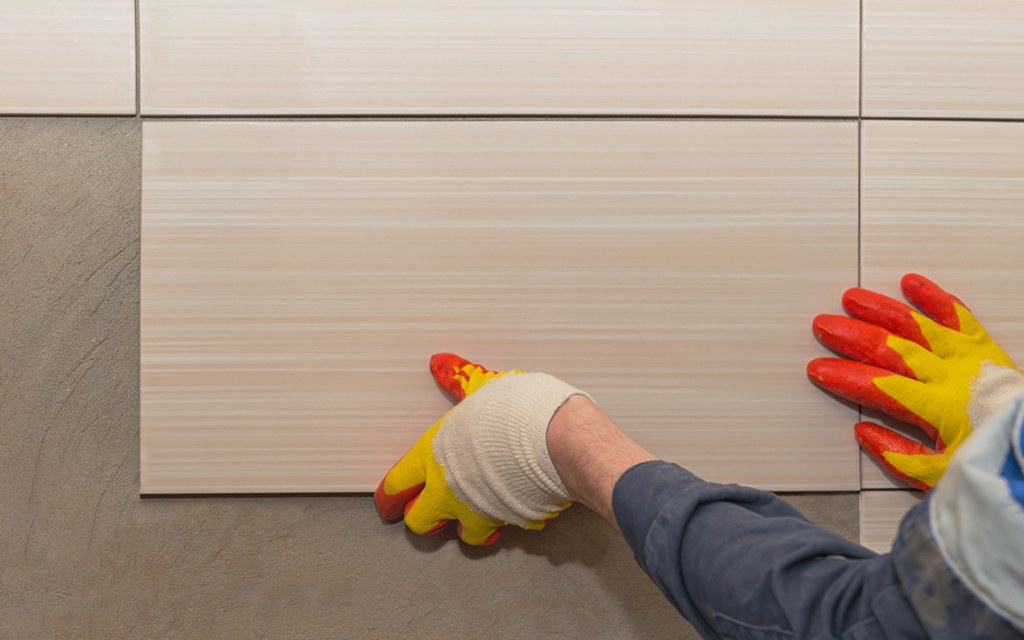
Thinset mortar is a mixture of water and cement-based powder that helps the tiles adhere to the surface, be it the wall or the floor. You can mix the paste according to the manufacturer’s instructions and start applying it on the wall with a trowel in small sections since it can dry off pretty quickly. Comb it over with a notched trowel before pressing the first piece of tile on the wall. Use a rubber float to press it in. Make sure to use tile spacers as you repeat the process and install more tiles. Remove any excess mortar from the edge, because once it sets, it’ll be nearly impossible to get rid of.
Now, you might be wondering how to install backsplash around outlets. The truth is, this can be a little tricky. The only way to go about this is to cut the tiles that will be placed around the electric outlet to make sure it fits neatly in the centre.
Ideally, you should let the mortar dry for around 24 to 30 hours.
Step 4: Apply Grout

This is the final step. Once the mortar is dry and the tile spacers have been removed, all that remains is to fill out the grout lines and sealing them for protection.
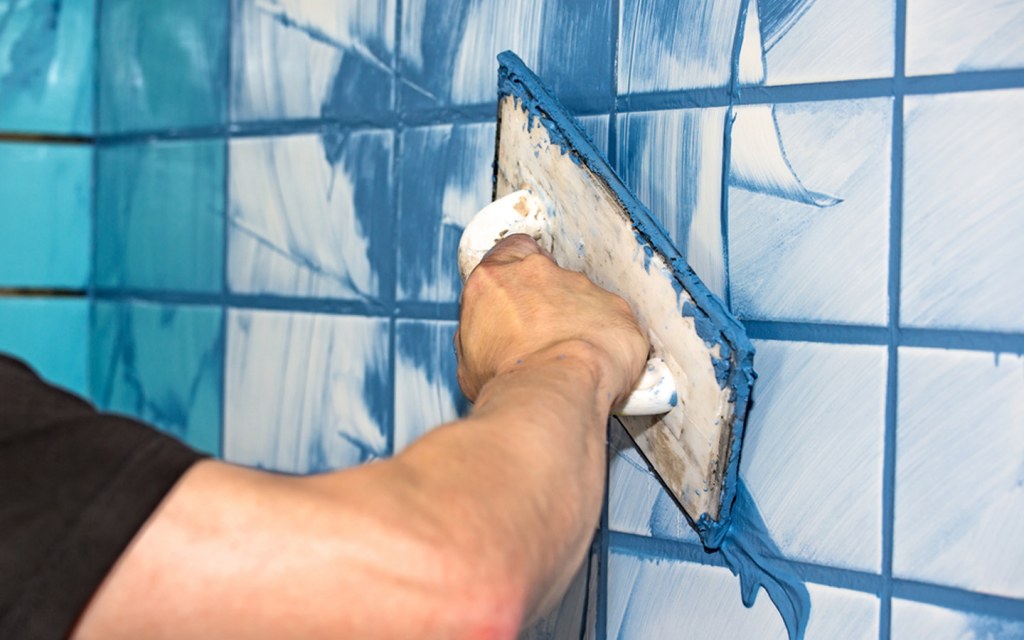
After you’ve mixed grout as per the instructions on the packaging, use a sponge to apply it between the wall tiles. If needed, use a flat trowel to make sure the lines are filled perfectly. While applying grout, make sure none of it ends up on the tiles.
Allow grout to dry and then use a water-proof grout sealant to protect the material. In case there are any extension gaps between your DIY tile backsplash and the top of the countertops, you may have to use caulk or silicone sealants to fill them.
Leave it all to dry for another 24 hours. If a slight haze begins to form on your tile backsplash, you can fix it later by cleaning the surface with a store-bought cleaner.
That was all you needed to know about installing backsplash in your kitchen. If you have any questions regarding how to install a tile backsplash, send them our way by emailing on blog@zameen.com.
Meanwhile, you can check out our guides on how to tile your bathroom floor and rates of different flooring tiles in Pakistan.
To learn more about DIY home improvement projects, stay connected to Zameen Blog – the top construction and real estate blog in Pakistan. Also, subscribe to our newsletter to receive the latest updates about the property sector in the country.


